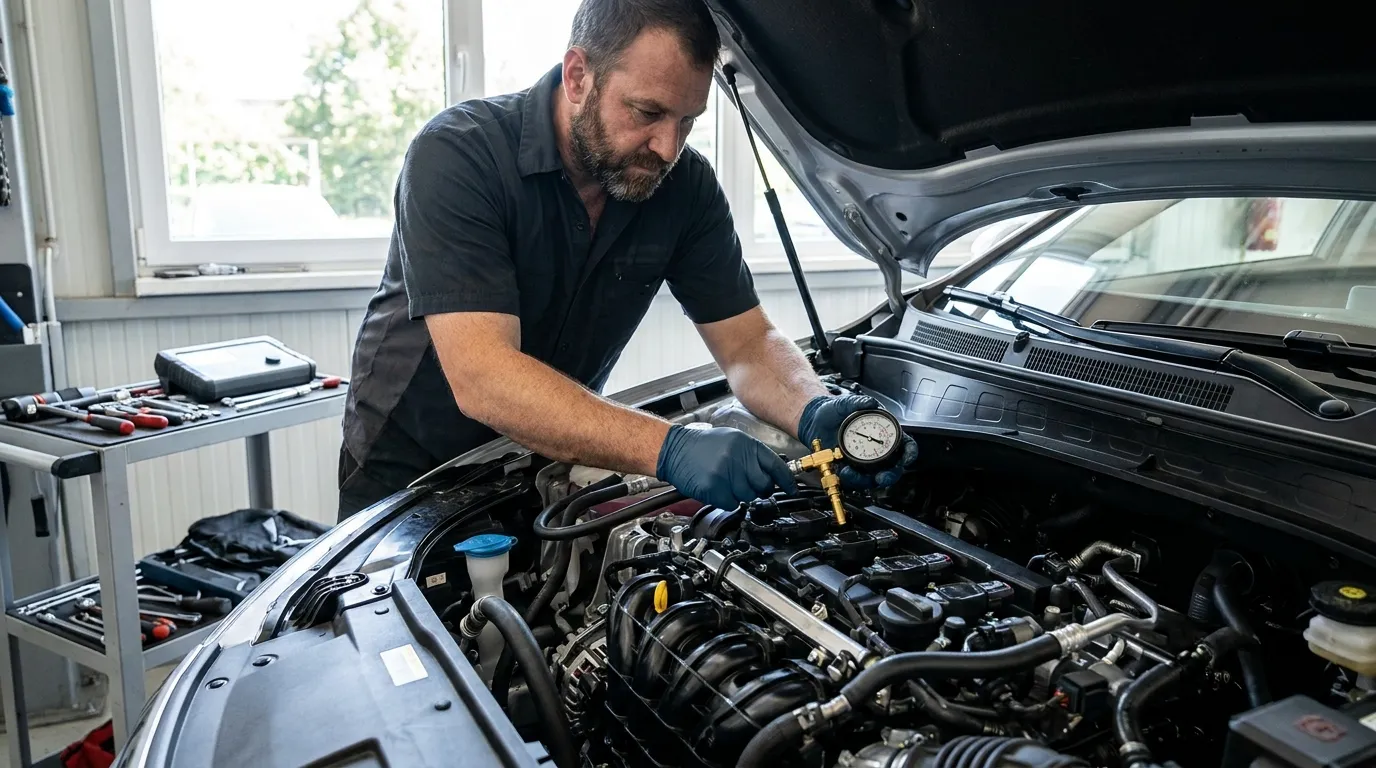
Connect the gauge, relieve pressure, run the engine, read stable numbers, and compare to specs.
I have spent years working on cars and diagnosing fuel systems, so I know how to use a fuel pressure gauge clearly and safely. This guide walks you through every step, from choosing the right gauge and adapters to making accurate readings and interpreting results. I mix hands-on tips, common mistakes I’ve made, and clear troubleshooting advice so you can test fuel pressure confidently and fix fuel-related problems faster.
Why measure fuel pressure?
Measuring fuel pressure confirms whether the fuel system supplies the correct amount of fuel at the right pressure. Low or high fuel pressure causes poor idling, stalling, hard starts, and reduced power. A simple pressure check narrows the cause to the pump, regulator, filter, or lines, saving time and parts swapping. Knowing how to use a fuel pressure gauge speeds diagnosis and prevents unnecessary repairs.
Tools and gear you need
Pick the right tools before you start. Use only safe parts and follow manufacturer specs.
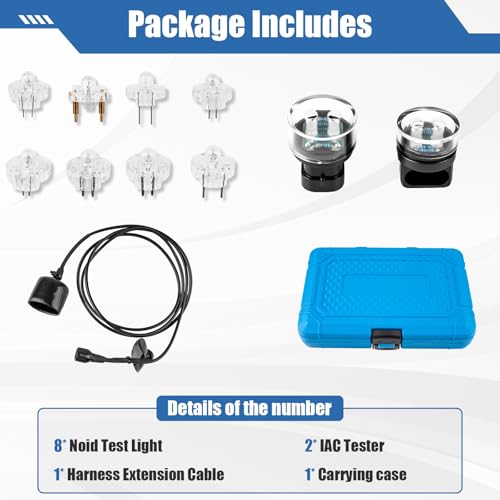
- Fuel pressure gauge kit with adapters for your vehicle
- Schrader valve adapter or fuel rail adapter as required
- Safety glasses and gloves
- Rags and a drip tray for spilled fuel
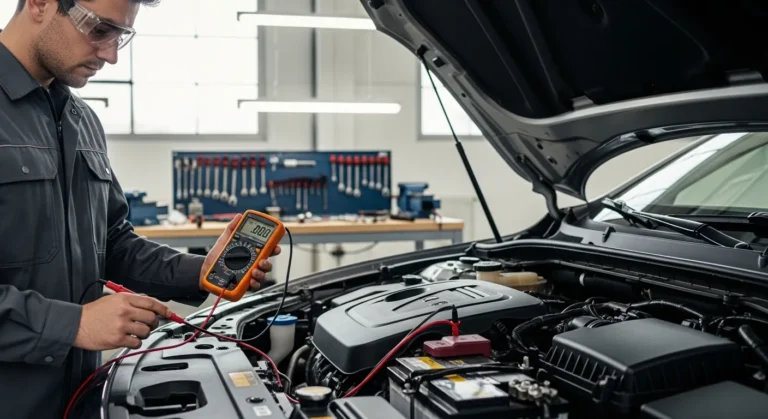
- Multimeter (optional) to check electrical signals
- Manual or online spec sheet for the vehicle’s fuel pressure range
If your car uses a returnless system, you may need a specific adapter. If no test port exists, you can install an inline gauge between the fuel rail and the injector feed. Always choose a gauge rated for automotive fuel pressures.
Step-by-step: how to use a fuel pressure gauge
This section shows step-by-step actions. Read all steps first, then do them.
1. Prepare the vehicle and workspace
- Park on level ground and set the parking brake.
- Work in a well-ventilated area away from sparks or open flames.
- Relieve static; wear gloves and glasses.
- Locate the fuel rail test port or plan an inline hookup.
2. Relieve residual fuel pressure
- Remove the fuel pump fuse or relay and run the engine until it dies, or
- Use the manufacturer’s pressure-relief procedure.
- Open a cap carefully and have rags ready for any small fuel spray.
3. Connect the fuel pressure gauge
- Attach the correct adapter to the test port or place the inline adapter between the fuel line and rail.
- Screw the gauge on hand-tight to avoid leaks.
- Ensure connections are secure and no fuel drips before proceeding.
4. Start the engine and watch the gauge
- Reinstall the fuse or relay and start the engine.
- Observe the static idle reading. It should match the spec.
- Watch the gauge while revving lightly and under steady load if safe.
5. Test under different conditions
- Check engine off (key on) to see pump prime pressure.
- Check idle pressure, then rev to 2,500–3,000 RPM briefly.
- For some cars, use a road test or apply a load (A/C on) to reveal pressure drops.
6. Interpret the readings
- Pressure within spec: fuel pump, regulator, and primary lines likely ok.
- Low pressure: clogged filter, weak pump, failing regulator, or bad wiring.
- High pressure: stuck regulator or restricted return path.
- Fluctuating or pulsating pressure: failing pump or check valve issues.
7. Disconnect and clean up
- Turn off engine before removing the gauge.
- Loosen the connection slowly to relieve any trapped pressure.
- Wipe up spilled fuel and store the gauge clean and dry.
These steps explain how to use a fuel pressure gauge safely and accurately. Always consult vehicle specs for exact numbers.
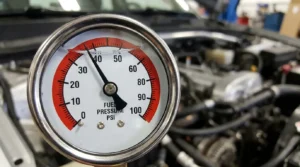
Common problems, causes, and diagnosis
Here are scenarios you’ll see while testing fuel pressure and what they usually mean.
- Low idle and low pressure
- Cause: clogged filter, weak pump, or bad wiring.
- Fix: check filter and pump current, replace filter, test pump amperage.
- Normal idle but drops under load
- Cause: weak pump or poor fuel pickup.
- Fix: test fuel pump under load; inspect tank pickup and fuel lines.
- Pressure higher than spec
- Cause: stuck regulator, blocked return line, or wrong regulator.
- Fix: inspect regulator, clean return line, replace regulator if needed.
- Pulsation in gauge reading
- Cause: failing pump check valve or worn pump.
- Fix: bench test pump or check for debris in strainer.
- Rapid pressure loss when engine off
- Cause: leaking injector or bad check valve.
- Fix: do a leakdown test and inspect injectors.
Use the pattern of symptoms plus your readings to pinpoint the problem.
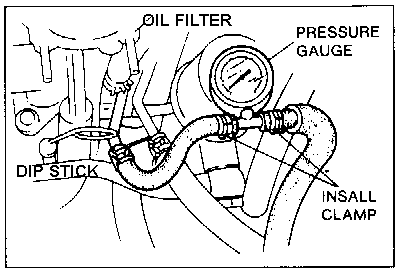
Safety tips and best practices
Fuel is flammable and volatile. Follow safety rules.
- Work outdoors or in a well-ventilated space.
- Keep flames, sparks, and smoking away from the work area.
- Wear eye protection and gloves.
- Use proper adapters; do not jury-rig fittings that can leak.
- Dispose of fuel-soaked rags safely and legally.
- Take photos of setups if you need to reassemble correctly.
These practices protect you and ensure accurate fuel pressure checks.

Personal experience, lessons, and mistakes to avoid
I once misread a pressure drop as a weak pump, replaced it, and later found a clogged filter was the real cause. Since then, I always check the filter and electrical feed before swapping the pump. A few takeaways from my shop work:
- Always verify vehicle specs first to avoid chasing the wrong numbers.
- Test pump current draw; a pump that draws too much or too little can be failing.
- Use a pressure gauge with a clear dial and quality fittings to reduce error.
- Don’t rev the engine hard for long—short bursts are safer for tests.
- Label hoses and connectors during disassembly to avoid reassembly errors.
These tips come from hands-on troubleshooting and save time and money.
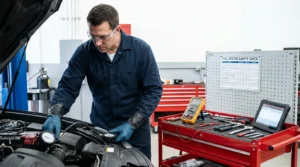
Examples and a quick troubleshooting checklist
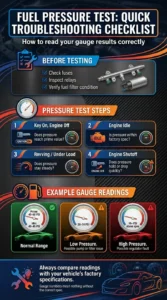
Use this quick checklist when you test pressure.
- Before testing: check fuses, relays, and fuel filter condition.
- At key on (engine off): Does pressure reach prime value?
- At idle: Is pressure within spec?
- Under rev or load: Does pressure hold steady?
- After shutoff: Does pressure drop quickly?
Sample readings (example numbers; always use your vehicle’s specs)
- Typical port fuel injection car: prime ~40–60 psi; idle 40–45 psi.
- Low-pressure symptoms at 20–30 psi suggest pump/filter issues.
- High-pressure readings 10+ psi above spec suggest regulator faults.
These practical examples help you interpret your own gauge results.
Frequently Asked Questions of how to use fuel pressure gauge
How long should I run the engine while checking fuel pressure?
Run the engine just long enough to get stable readings at idle and during a short, safe rev. Avoid extended high RPMs to prevent stress on the engine or pump.
Can I test fuel pressure with the fuel pump relay removed?
No. Removing the relay prevents the pump from running. Use the relay removal method only to relieve pressure before you connect the gauge.
Will a clogged fuel filter show up on a pressure test?
Yes. A clogged filter often causes low pressure under load and significant pressure drop when the engine demands more fuel.
Is a digital gauge better than an analog gauge?
Digital gauges can be easier to read and log, but a quality analog gauge is reliable and simple. Choose what you trust and what fits your tests.
Can a bad fuel pressure regulator cause high fuel consumption?
Yes. A faulty regulator can raise fuel pressure and over-fuel the engine, leading to high consumption and rough running.
Conclusion
Measuring fuel pressure gives clear evidence about the health of a vehicle’s fuel system. Follow the steps: prepare safely, connect the right adapter, take readings at idle and under load, and compare to specs to find the root cause. Start by checking filters and wiring before replacing expensive parts. Try the tests yourself, use the checklist, and leave a comment about what you find. If this guide helped, subscribe or share your experience so others can learn how to use a fuel pressure gauge with confidence.