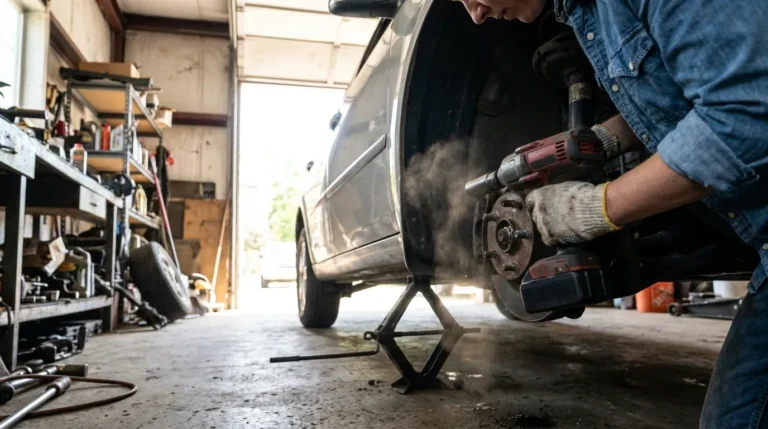
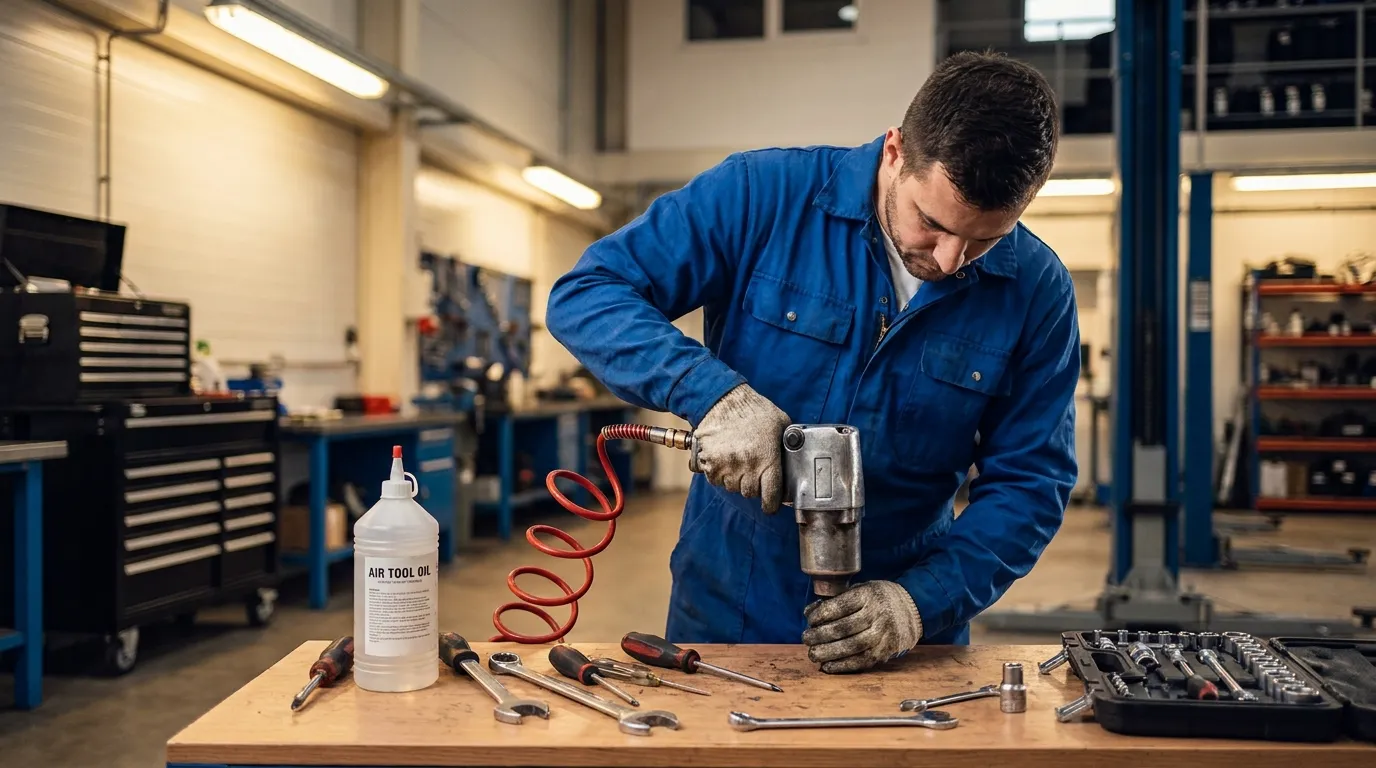
Keep it clean, oiled, and on the correct air pressure — simple routine extends tool life.
I have decades of hands-on experience maintaining shop air tools, and I will walk you through how to maintain air impact wrench so it runs reliably, safely, and at peak torque. This guide covers the essential checks, lubrication steps, air supply care, cleaning, troubleshooting, parts to watch, and a practical maintenance schedule you can use in a home garage or a busy shop. Read on for clear, tested steps and the real-life tips I learned the hard way.
Why regular maintenance matters
Regular care keeps the tool safe and accurate. An air impact wrench that is well maintained delivers consistent torque. It reduces downtime and repair costs. Proper maintenance also protects fasteners and prevents damage to wheel studs, lug nuts, and machinery.
Key benefits of knowing how to maintain air impact wrench:
- Increases lifespan of the tool and accessories.
- Keeps torque output consistent for safe repairs.
- Cuts repair bills and lost time for professionals and DIYers.
Daily and pre-use checklist
Start each shift or task with a short checklist. A quick habit prevents most common failures.
Daily checklist for how to maintain air impact wrench:
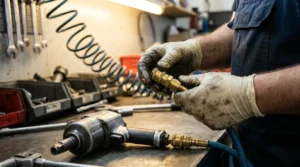
- Inspect the tool for cracks or loose parts. Look at the housing and socket retainer.
- Check air hose and fittings for leaks or damage. Replace cracked hoses.
- Verify air pressure at the tool. Use the manufacturer’s recommended psi.
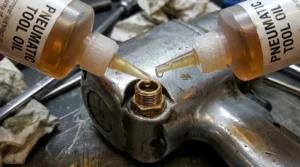
- Add a few drops of oil into the air inlet if the maker advises.
Do these steps each day you use the tool. Small checks save big headaches later.
Lubrication: the single most important step
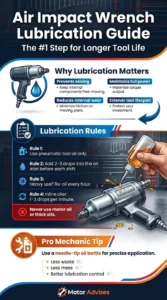
Lubrication is the top factor when you learn how to maintain air impact wrench. Lack of oil causes seizing, slow operation, and premature wear.
Lubrication rules:
- Use pneumatic tool oil only. It is light and designed for air motors.
- Add 2–3 drops in the air inlet before each shift or after every hour of heavy use.
- For inline lubrication, set the oiler to feed 1–3 drops per minute. Adjust based on use and humidity.
- Never use motor oil or thick oils. They gum up the hammer mechanism.
Personal tip: I started using a small bottle with a needle tip for precise drops. It cut wasted oil and kept mess down.
Air supply and compressor care
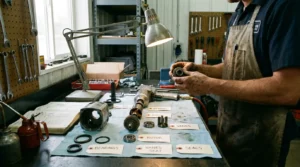
Clean, dry air is crucial for how to maintain air impact wrench. Moisture and debris in the line cause rust and wear.
Air supply checklist:
- Use an inline filter and water separator. Drain the separator daily.
- Install a regulator to keep pressure steady. Check pressure at the tool while running.
- Run at the recommended psi. Too low reduces power. Too high speeds wear parts.
- Change compressor tank drain and belt service on schedule.
Common mistake: Relying on the shop filter alone. I learned to add a secondary filter near the tool for critical jobs. It fixed erratic performance.
Cleaning, inspection, and parts to watch
A clean tool is a reliable tool. Regular inspection finds issues early.
What to clean and inspect:
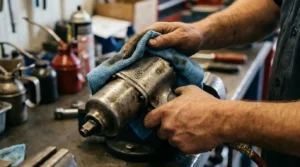
- Exterior: Wipe dirt and oil from the housing after use.
- Air inlet: Clean threads and screen to prevent clogs.
- Sockets and anvil: Inspect for cracks or mushrooming. Replace damaged sockets.
- Retainer rings and hammer case: Check for wear or loose screws.
Parts that wear fastest:
- O-rings and seals
- Bearings and hammer components
- Anvil and drive pin
Replace worn parts promptly. A small worn seal leads to big internal damage if ignored.
Torque calibration, testing, and safe operation
Maintaining accurate torque is part of how to maintain air impact wrench. Calibration and test runs keep work safe.
Calibration and testing steps:
- Use a torque adapter or tester to verify output periodically.
- Test torque after major service or part replacement.
- Do a quick torque check when accuracy matters, such as wheel lug tightening.
- Follow safety steps: disconnect air before changing sockets and wear hearing protection.
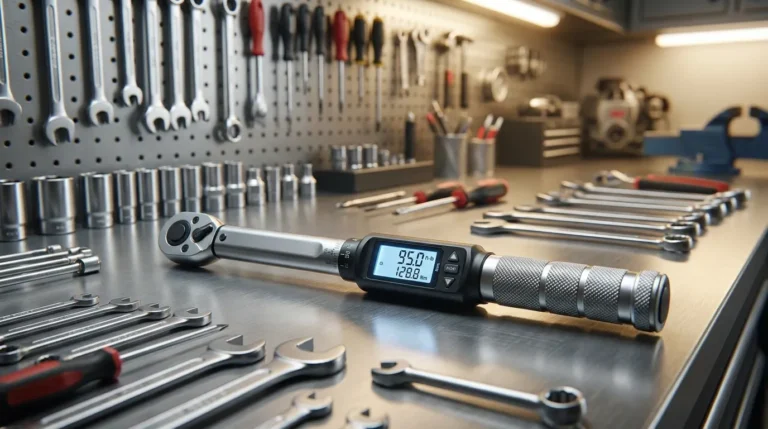
Note: Most impact wrenches are torque-indicating more than torque-controlling. For final critical torque, finish with a torque wrench.
Common problems and troubleshooting
This section explains common faults and fixes for how to maintain air impact wrench.
Problem: Low power or slow spin
- Cause: Low air pressure, clogged filter, or worn vanes.
- Fix: Check pressure, replace or clean filter, inspect and replace worn vanes.
Problem: Tool stalls or sticks
- Cause: Lack of oil, rusted hammer, or debris in mechanism.
- Fix: Lubricate, disassemble per manual, clean debris, and replace corroded parts.
Problem: Excessive noise or grinding
- Cause: Worn bearings or hammer assembly.
- Fix: Stop using the tool and replace bearings or hammer parts.
Problem: Air leaks
- Cause: Damaged hose, loose fittings, or bad seals.
- Fix: Tighten fittings, replace hose, and change seals.
PAA-style question
How often should I oil my impact wrench?
Oil before each shift and after long runs. For heavy use, add oil hourly or use an inline oiler for steady feed.
Can I use any oil in pneumatic tools?
No. Use pneumatic tool oil only. Other oils can gum the mechanism and cause damage.

Source: mighty-seven.com
When to repair or replace parts
Knowing when to repair saves money. Knowing when to replace prevents failures.
Replace parts when:
- An anvil or socket shows cracks.
- Bearings make noise after lubrication.
- Seals leak after cleaning and fresh oil.
Rebuild the hammer assembly if:
- Torque drops despite proper air and lubrication.
- Internal inspection shows pitted hammers or a worn anvil.
If repair cost approaches new-tool price, weigh buying a new unit. For pros, rebuild kits usually extend life by years.
Maintenance schedule and checklist (printable)
A simple schedule helps you maintain the habit.
Daily
- Wipe tool, inspect, oil air inlet, check hoses.
Weekly
- Clean inline filter, check separator drains, verify regulator.
Monthly
- Inspect internal components if heavy use, test torque output, replace worn seals.
Quarterly or 500-hour
- Full teardown, clean hammer and bearings, replace wear items, perform torque calibration.
Printable quick checklist
- Visual check and clean
- Oil air inlet
- Check hoses and fittings
- Verify air pressure and filter
- Torque test
Frequently Asked Questions of how to maintain air impact wrench
What oil should I use for my air impact wrench?
Use a high-quality pneumatic tool oil. It is light and formulated to protect seals and bearings.
How often should I change the air filter?
Drain the separator daily and replace filter elements according to use. Heavy shops often change elements monthly.
Can water in the air line damage the impact wrench?
Yes. Water causes rust and shortens life. Use separators and drain compressor tanks daily.
Is it okay to run an impact wrench at higher PSI?
No. Running above manufacturer psi increases wear and can damage the hammer and seals.
How long does an impact wrench last with proper maintenance?
With regular care and periodic rebuilds, many units last years. Professional tools often run 5–10 years before major overhaul.
How do I know when to rebuild the hammer?
Rebuild when torque drops or inspections show pitting, scoring, or worn bearings. Rebuild kits restore performance.
Conclusion
Maintaining your air impact wrench is straightforward if you build a short, regular routine. Keep the air clean and dry, oil the inlet frequently, check pressure, inspect parts, and replace worn components as soon as you spot them. These habits will save time and money, and keep work safe.
Take action today: make the daily checklist above part of your workflow, try the inline oiler if you have heavy use, and leave a comment with your maintenance tips or questions.