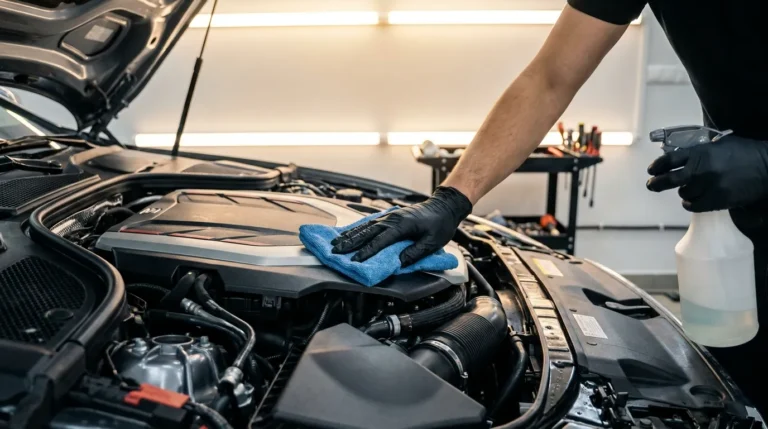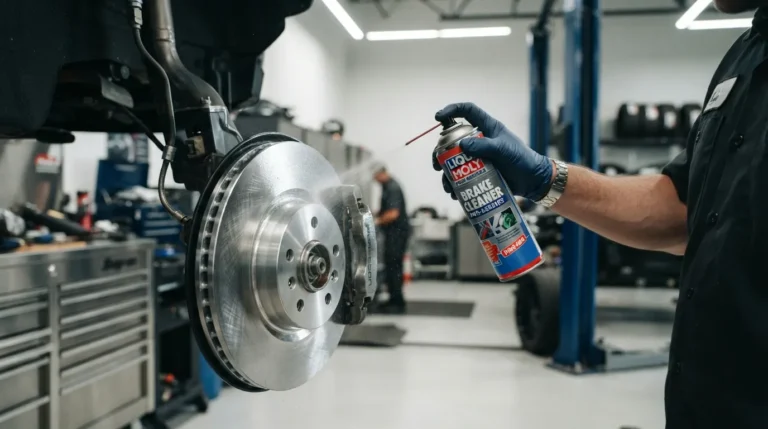
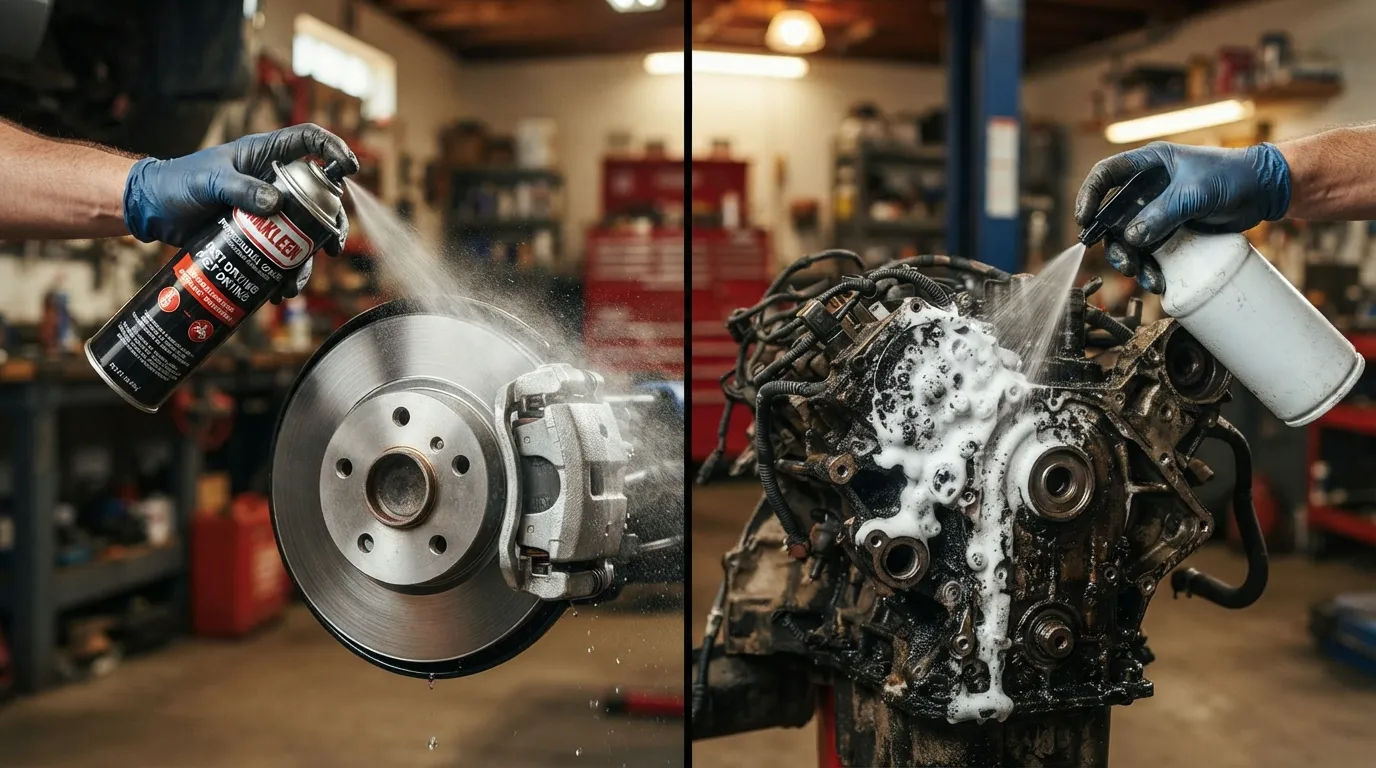
Brake cleaner blasts brake dust and oils fast; degreaser soaks and lifts heavy grease for broad cleaning.
I’ve spent years working in garages and doing DIY repairs. I know when a fast, no-residue blast is best and when a soak-and-scrub approach wins. This article explains brake cleaner vs degreaser in plain terms. You’ll learn what each product does, when to use it, safety tips, and how to pick the right one for the job. Read on for clear, hands-on advice you can use today.
What is brake cleaner?
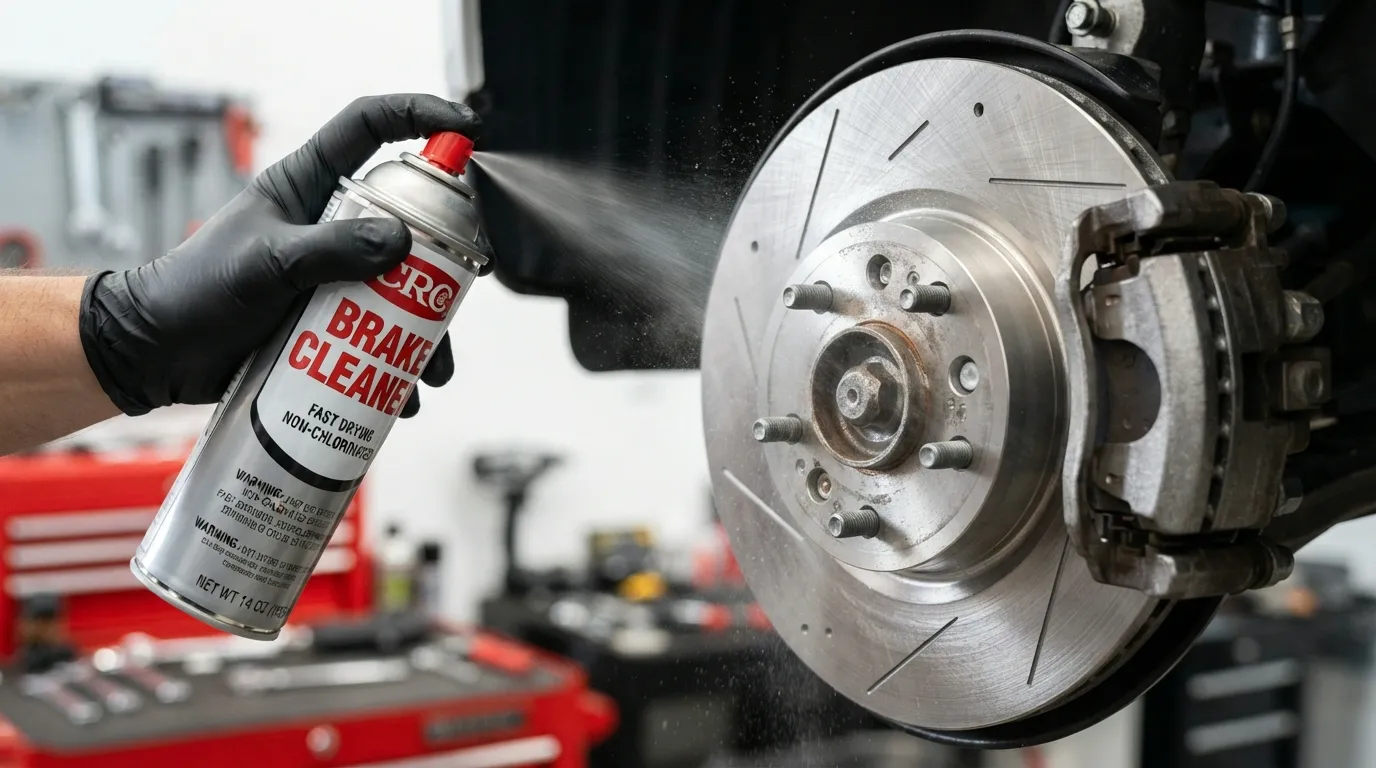
Brake cleaner is a fast-evaporating solvent blend. It removes brake dust, oil, grease, and contaminants from brake parts. It is made for quick, no-residue cleaning. Two common types exist. One type is chlorinated and non-flammable. The other is non-chlorinated and often flammable. Both types leave little to no residue. That makes them safe for braking surfaces and sensors when used correctly.
Typical uses
- Cleaning brake rotors, pads, and calipers.
- Removing oily film before reassembly.
- Cleaning metal parts that need to be free of contamination.
Advantages
- Evaporates fast and leaves no residue.
- Works instantly with spray application.
- Good for delicate brake sensors and electronic parts when used with care.
Limitations
- Can be harsh on paint, plastic, and rubber if not rinsed or avoided.
- Some formulas are toxic and require ventilation.
- Not designed for heavy, baked-on grease or thick grime.
What is degreaser?
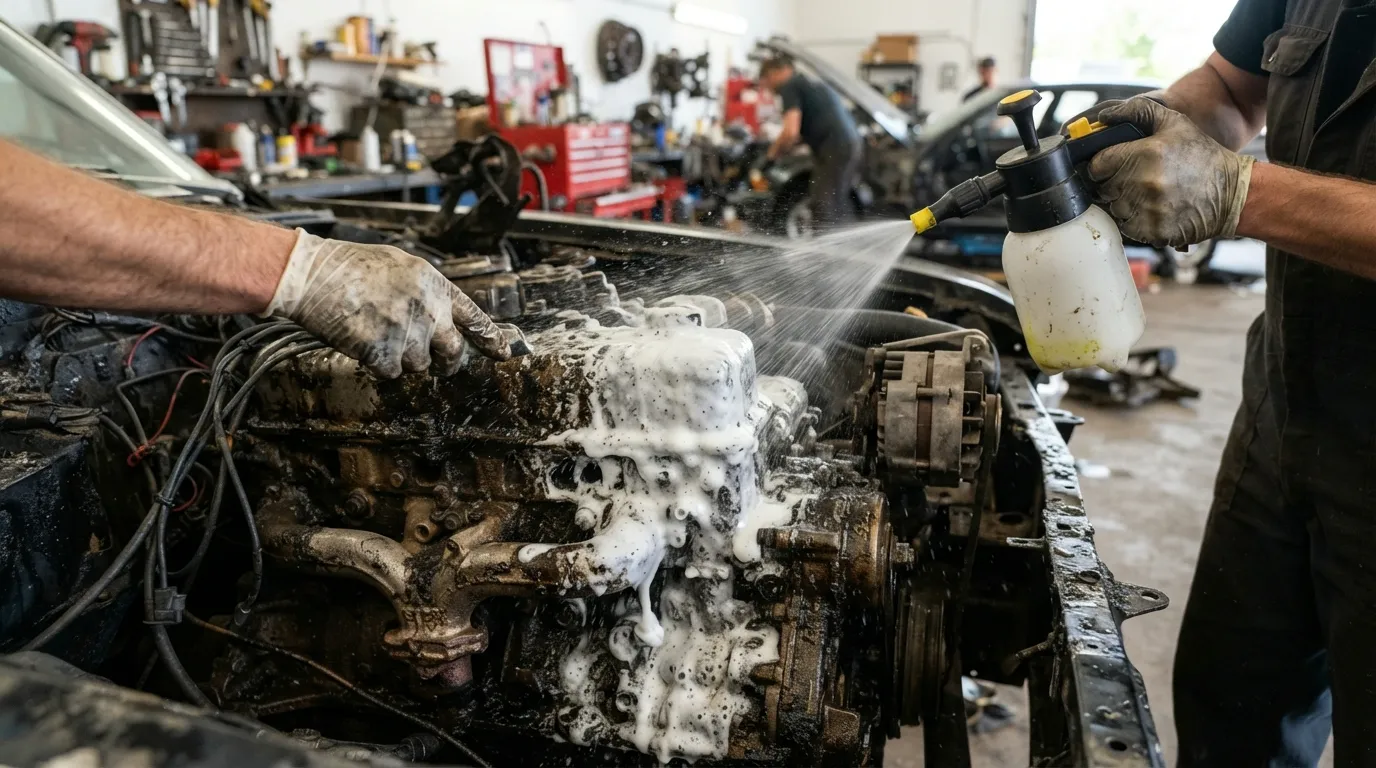
Degreaser is a cleaner made to dissolve grease and heavy oils. It comes in solvent-based and water-based formulas. Water-based degreasers are milder and safer for many surfaces. Solvent-based degreasers are stronger and act faster on tough buildup. Degreasers usually require dwell time. They often need wiping, brushing, or rinsing to remove loosened grime.
Typical uses
- Cleaning engine blocks, transmissions, and greasy tools.
- Preparing metal for painting by removing oil and grime.
- Cleaning garage floors and industrial equipment.
Advantages
- Removes heavy and baked-on grease effectively.
- Available in eco-friendly water-based options.
- Can be formulated to be safe on many surfaces.
Limitations
- May leave residue if not rinsed.
- Strong solvent types can be flammable and toxic.
- May need more labor (scrubbing or soaking).
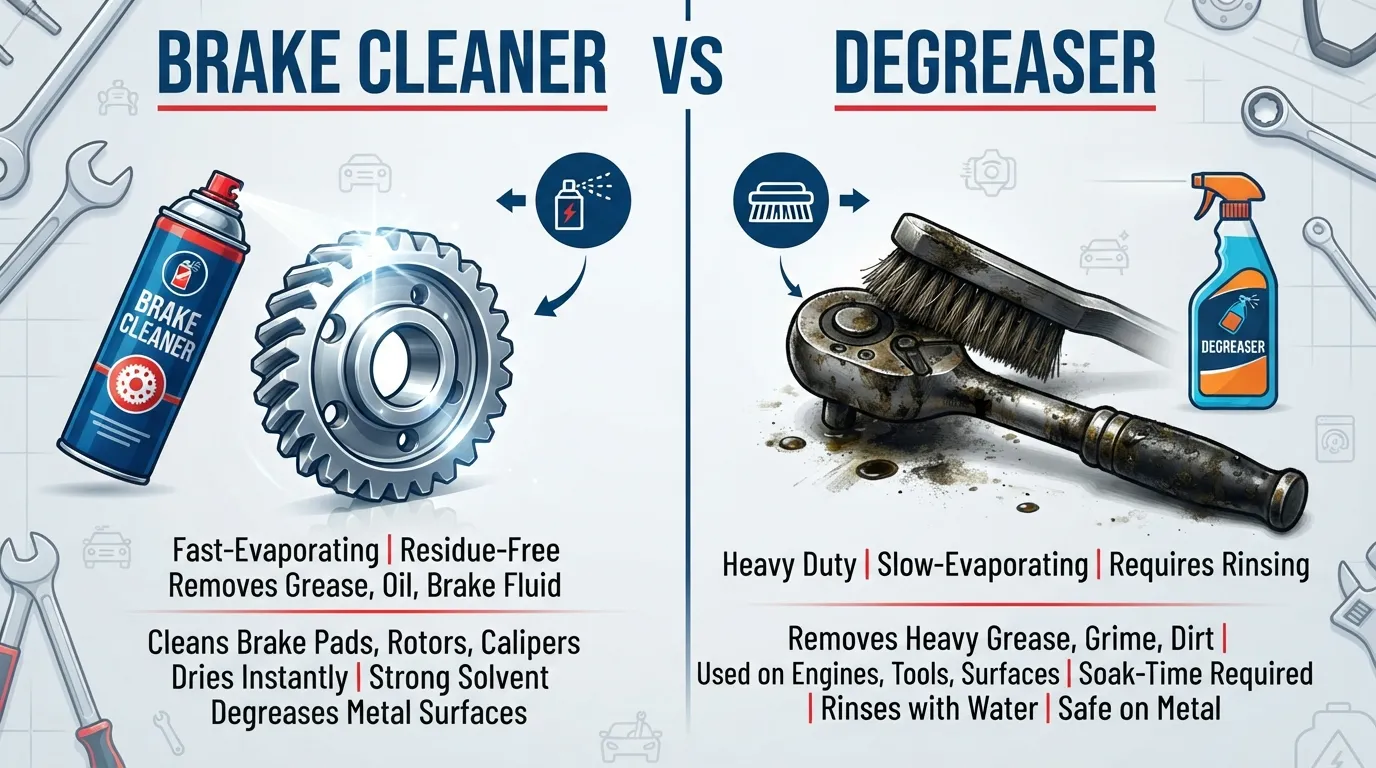
Brake cleaner vs degreaser: Key differences
Comparing brake cleaner vs degreaser helps you pick the right tool. Here are the core differences in plain terms.
Purpose and action
- Brake cleaner: Fast solvent action that evaporates and leaves no residue.
- Degreaser: Breaks down grease and often needs rinsing or wiping.
Residue and drying
- Brake cleaner: Little to no residue. Dries quickly.
- Degreaser: May leave residue unless rinsed. Slower drying.
Surface compatibility
- Brake cleaner: Best for metal brake parts. Can damage paint, rubber, and some plastics.
- Degreaser: Formulated variants can be safe on painted surfaces and plastics.
Strength and dwell time
- Brake cleaner: Immediate effect on fresh oils and dust.
- Degreaser: Needs time to penetrate and lift heavy grime.
Safety and environment
- Brake cleaner: Some formulas contain hazardous solvents and are less eco-friendly.
- Degreaser: Water-based options are greener. Solvent types can still be hazardous.
Cost and availability
- Brake cleaner: Widely available in aerosol cans for quick use.
- Degreaser: Available in concentrated and ready-to-use forms, often more economical for large jobs.
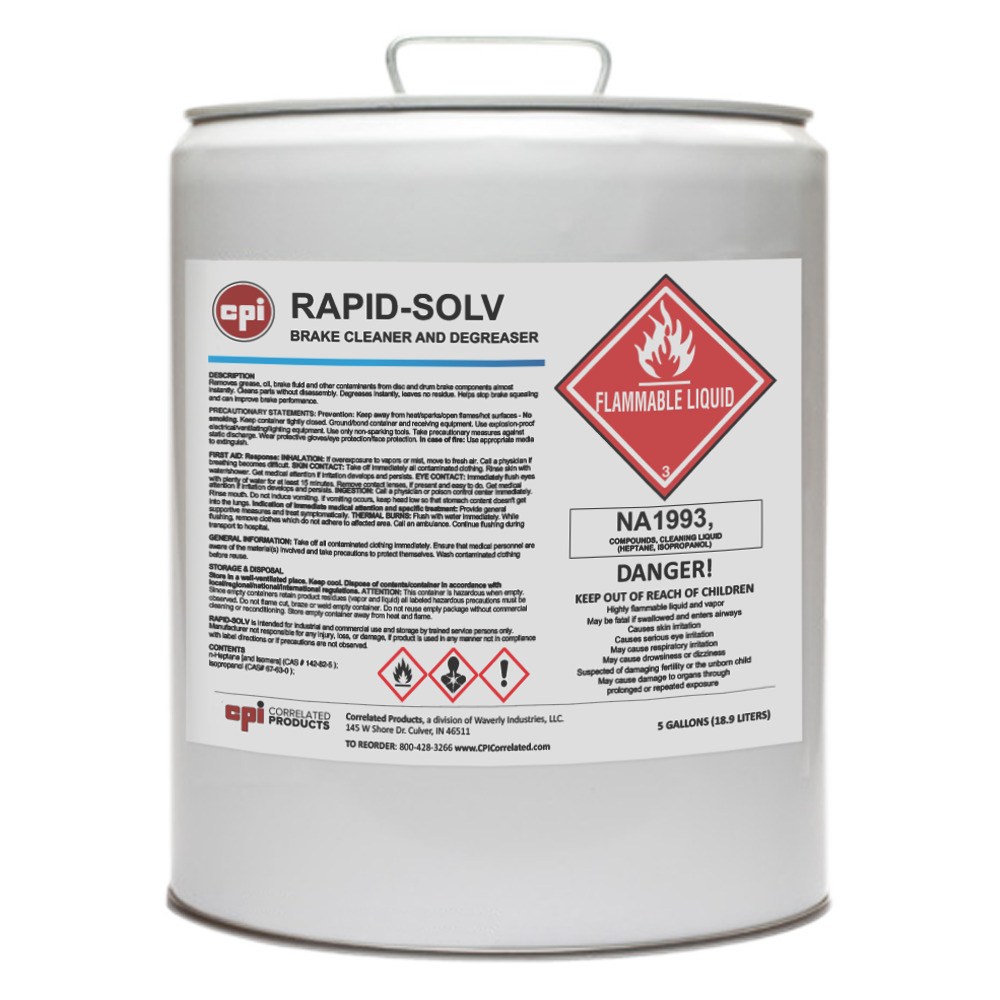
When to use brake cleaner vs degreaser
Knowing the task makes the choice easy. Use brake cleaner when speed and zero residue matter. Use degreaser when grease is heavy or baked-on.
Use brake cleaner when
- You clean brake rotors and pads before installation.
- You need to remove brake dust and light oils fast.
- You are working near sensors and want no residue.
Use degreaser when
- You tackle engine grime, gear oil, or transmission leaks.
- You prep metal for painting or welding.
- You clean floors, chains, or tools with heavy buildup.
Practical example from my shop
- I spray brake cleaner on rotors before mounting new pads. It takes seconds and the brakes bed in properly.
- For an engine that had an oil leak, I use a water-based degreaser, let it sit 10 minutes, then pressure wash. The result is cleaner and safer for paint.
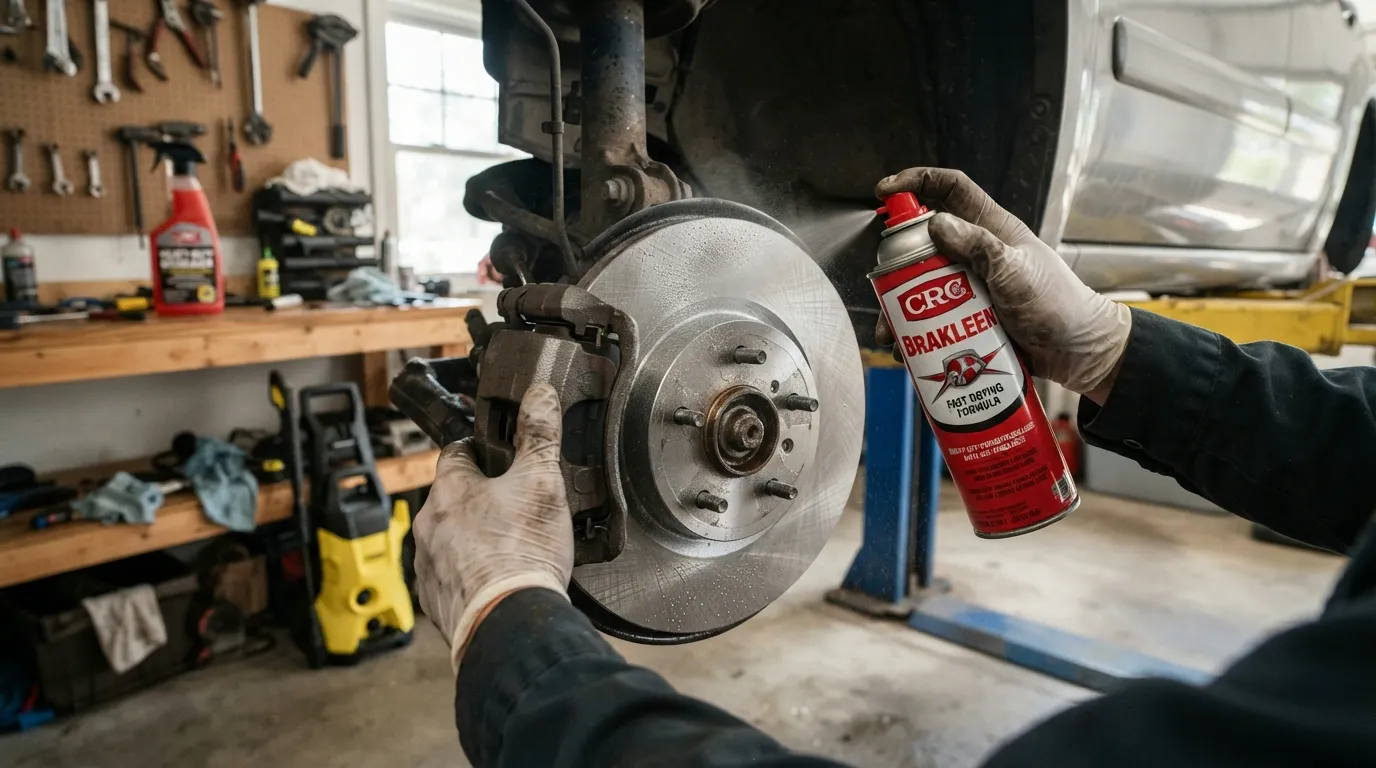
Safety, health, and environmental considerations
Both products can be hazardous. Use them with care. Always read labels and safety data sheets. Follow these basics.
Personal protection
- Wear gloves and eye protection.
- Use in a well-ventilated area or outdoors.
- Consider a respirator if using solvent-heavy products.
Fire and flammability
- Non-chlorinated brake cleaners can be flammable.
- Solvent degreasers may also ignite. Keep away from flames.
Disposal and environmental tips
- Don’t pour solvents down drains.
- Collect used solvent and waste in sealed containers.
- Choose water-based degreasers where possible to reduce impact.
Limitations and trade-offs
- Strong cleaners work fast but carry higher health risks.
- Milder products need more effort but are safer for people and the planet.
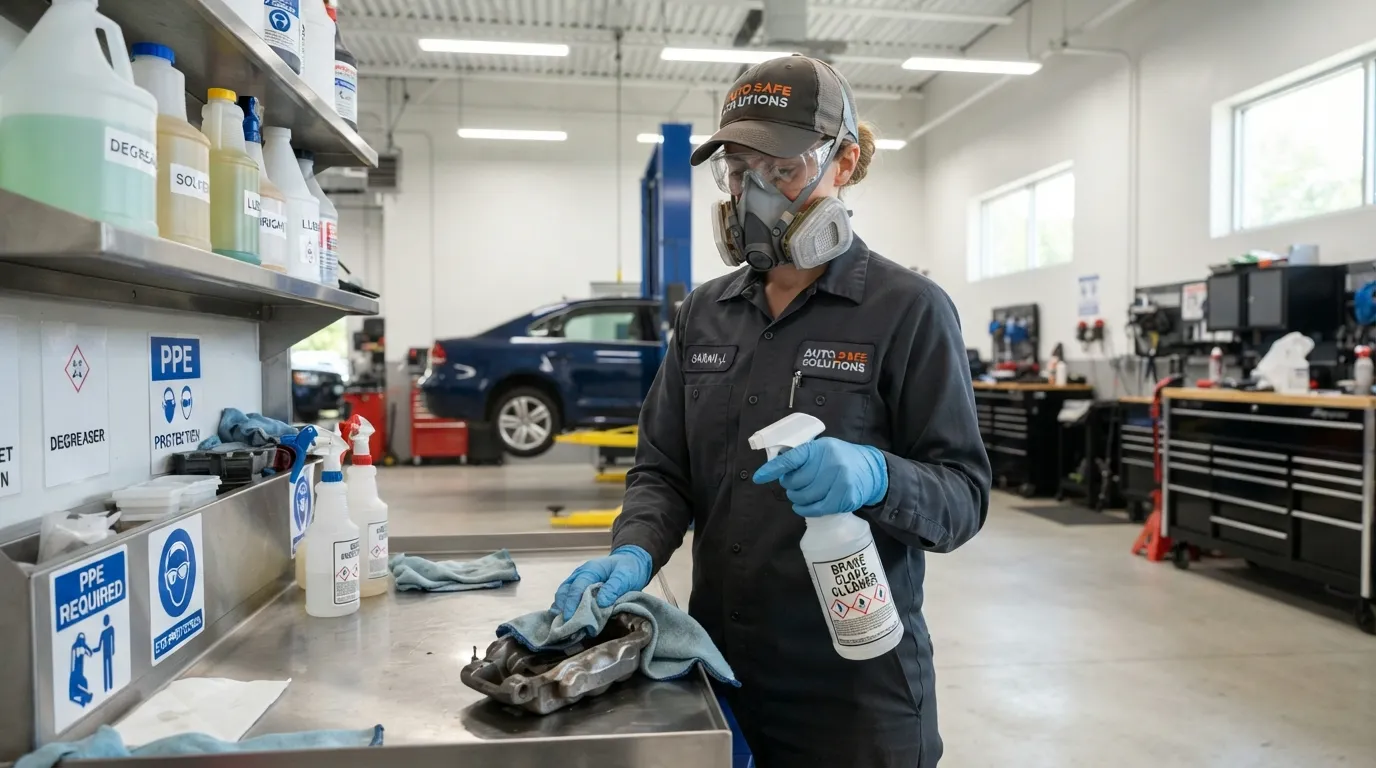
How to choose the right product
Make the choice by matching task, surface, and safety needs. Here is a short checklist.
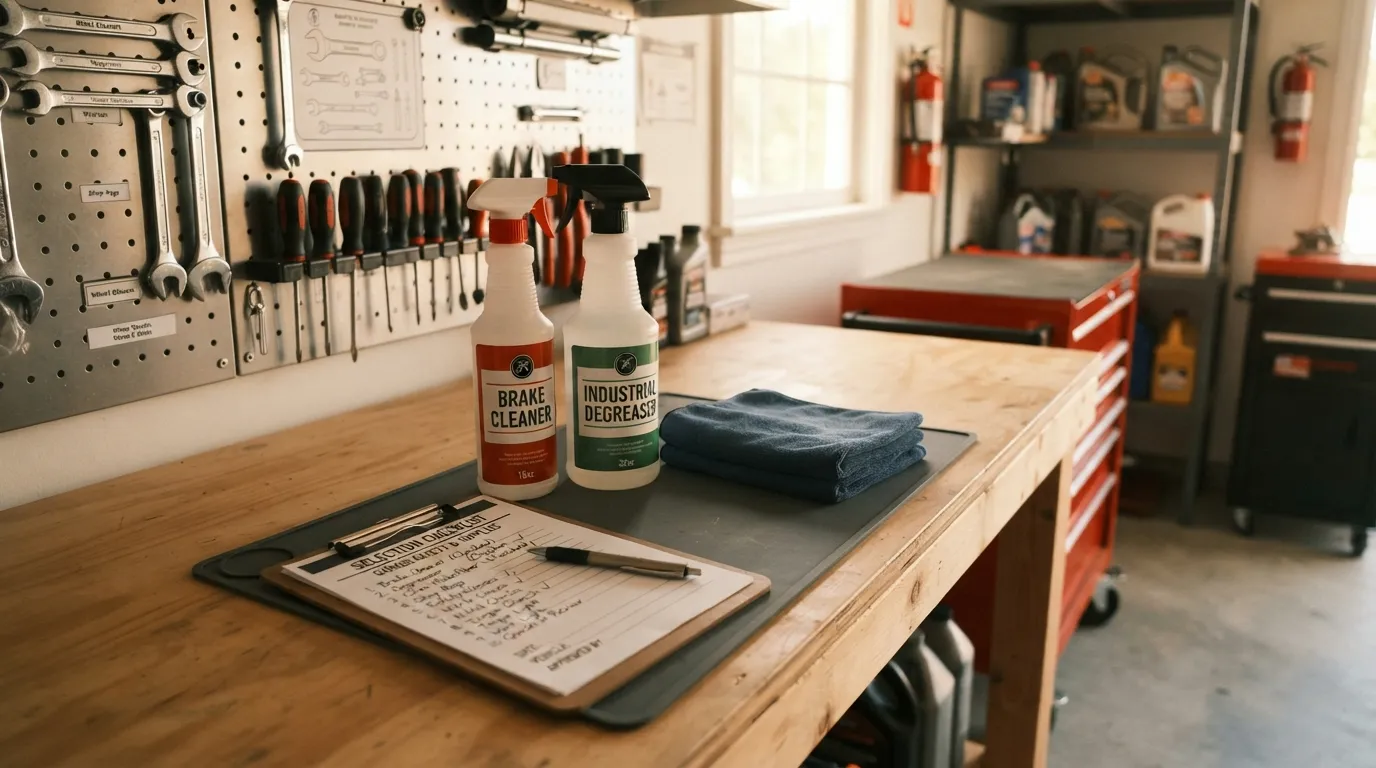
Selection checklist
- Identify the surface: metal, paint, plastic, rubber.
- Identify the soil: light dust, oil, heavy grease.
- Check label for compatibility and residue claims.
- Prefer water-based degreasers for painted or sensitive parts.
- Use brake cleaner for brake parts and quick, no-residue cleaning.
Testing and smart buying
- Test the product on a small hidden area first.
- Buy a small can or sample before a big job.
- Look for products with clear safety data and ingredient lists.
Personal buying tip
- I keep both on the shelf. Brake cleaner for brakes and quick jobs. Degreaser for engines and floors. It saves time and prevents mistakes.
Application tips and common mistakes
A good method saves time and prevents damage. Follow these steps and avoid common errors.
Brake cleaner best practice
- Clean area of loose debris first.
- Spray brake cleaner from a safe distance in short bursts.
- Wipe if needed and allow to evaporate fully.
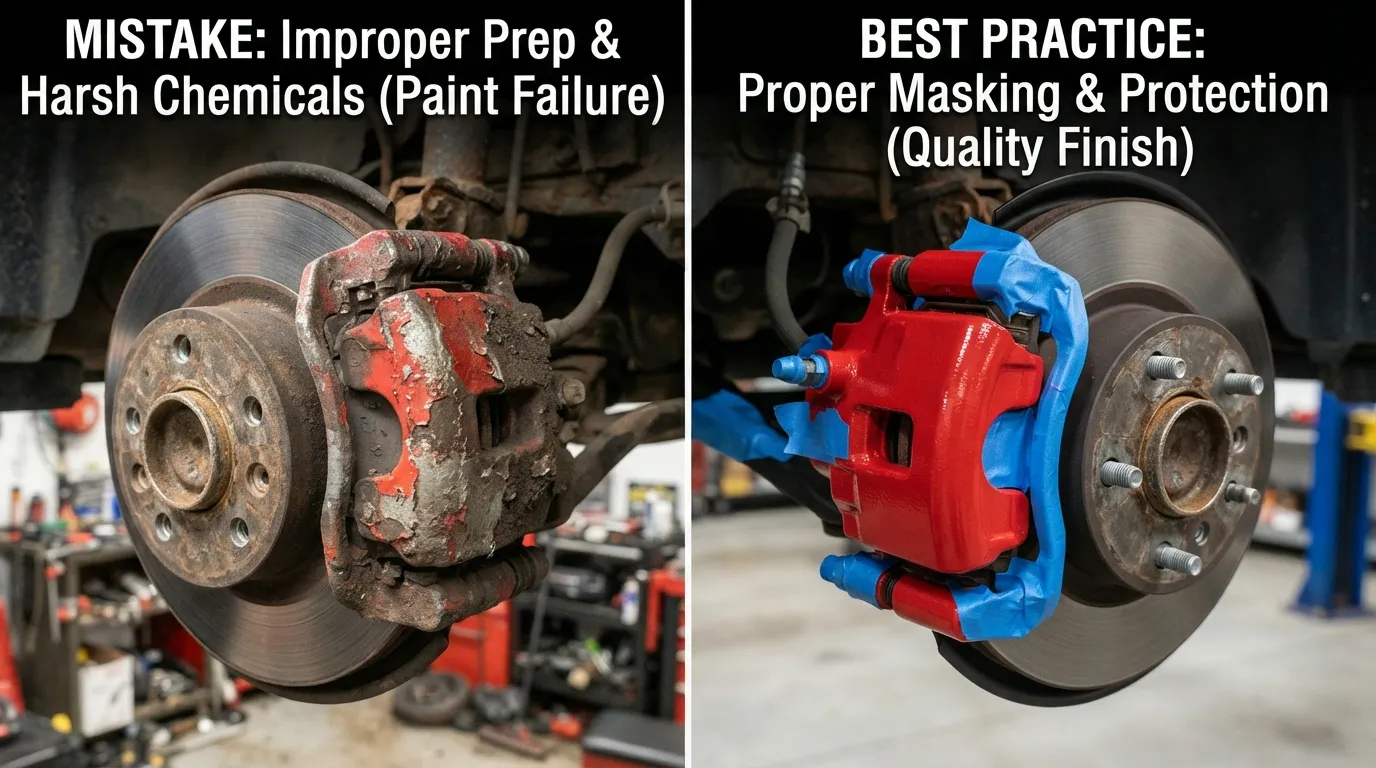
- Avoid spraying painted or plastic parts directly.
Degreaser best practice
- Apply degreaser and allow dwell time as instructed.
- Agitate with a brush for stubborn grime.
- Rinse or wipe thoroughly to remove residue.
- Use a pressure washer for large, greasy parts.
Common mistakes
- Using brake cleaner on painted bodywork, causing damage.
- Skipping rinsing after degreaser and leaving residue.
- Not wearing gloves or failing to ventilate the work area.
Real-world tip from experience
- Once, I sprayed brake cleaner on a painted caliper and ruined the finish. Now I cover paint and test first.
Frequently Asked Questions of brake cleaner vs degreaser
Can I use degreaser on brake parts?
Yes, but use a degreaser formulated to rinse clean and leave minimal residue. If in doubt, use a brake cleaner to avoid interference with braking surfaces.
Is brake cleaner safe on wheel bearings and seals?
No, brake cleaner can dry out rubber seals and bearings. Use a mild degreaser or a product labeled safe for rubber and bearings.
Which is better for engine bays, brake cleaner vs degreaser?
Degreaser is better for engine bays because it penetrates heavy oil and grime and is available in formulations safe for plastics and wiring.
Can I mix brake cleaner with degreaser to get better cleaning?
No, mixing solvents is unsafe and can produce harmful fumes or unpredictable reactions. Use one product at a time and follow label instructions.
How should I dispose of used brake cleaner or degreaser?
Collect used solvent in sealed containers and take to a hazardous waste facility or follow local disposal regulations. Do not pour solvents down drains.
Conclusion
Brake cleaner vs degreaser is not a fight. They are tools with different jobs. Brake cleaner is ideal for quick, no-residue cleaning of brake parts. Degreaser is best for heavy grease and broad cleaning tasks. Match product to job, protect yourself, and test on small areas. Start by choosing the right formula for the surface and soil you face. Try both in safe conditions and learn from each use.
Take action now: check your toolbox, label your cans, and pick the right cleaner for your next project. If you found this helpful, leave a comment or subscribe for more hands-on guides.