Inspect brake pads by checking pad thickness, surface condition, and rotor wear every few months.
I’ve inspected hundreds of brake systems and I’ll walk you through clear steps on how to inspect brake pads safely and accurately. This guide breaks down tools, step-by-step checks for disc and drum brakes, what to look for, how to measure pad thickness, common mistakes, and when to replace pads. Read on to learn practical tips from hands-on experience so you can confidently inspect your brakes and keep your vehicle safe.
Why inspect brake pads regularly
Regular inspection prevents sudden brake failure. Knowing how to inspect brake pads helps you catch wear, contamination, or damage early. Inspections save money by avoiding rotor damage and increase safety on the road. Make inspection part of routine maintenance to avoid surprises.

When to inspect brake pads
Inspect more often in these situations:
- Every 6,000 to 8,000 miles if you drive in stop-and-go traffic or tow often.
- Every oil change for light drivers or every 12,000 miles for low-mileage use.
- Immediately if you hear squealing, grinding, or feel vibration when braking.
- After heavy rain, off-road driving, or hitting deep puddles.
Knowing how to inspect brake pads on a schedule reduces risk and extends pad life.
Tools and materials needed
Gather simple tools before you start:
- Jack and jack stands, or a lift for safe wheel removal.
- Lug wrench or impact tool to remove the wheel.
- Flashlight to see inside the caliper and backing plate.
- Ruler, caliper tool, or a brake pad gauge to measure thickness.
- Protective gloves and safety glasses.
- Wire brush and cleaner for light cleaning.
These tools make how to inspect brake pads fast and reliable.
Source: beefedupbrakes.com
Step-by-step: How to inspect brake pads (disc brakes)
Follow these steps for disc brake systems:
- Park on a flat surface and set the parking brake. Loosen lug nuts before raising the car.
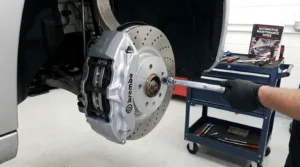
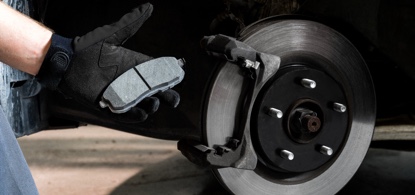
- Lift the car and support it with jack stands. Remove the wheel to view the caliper and rotor.
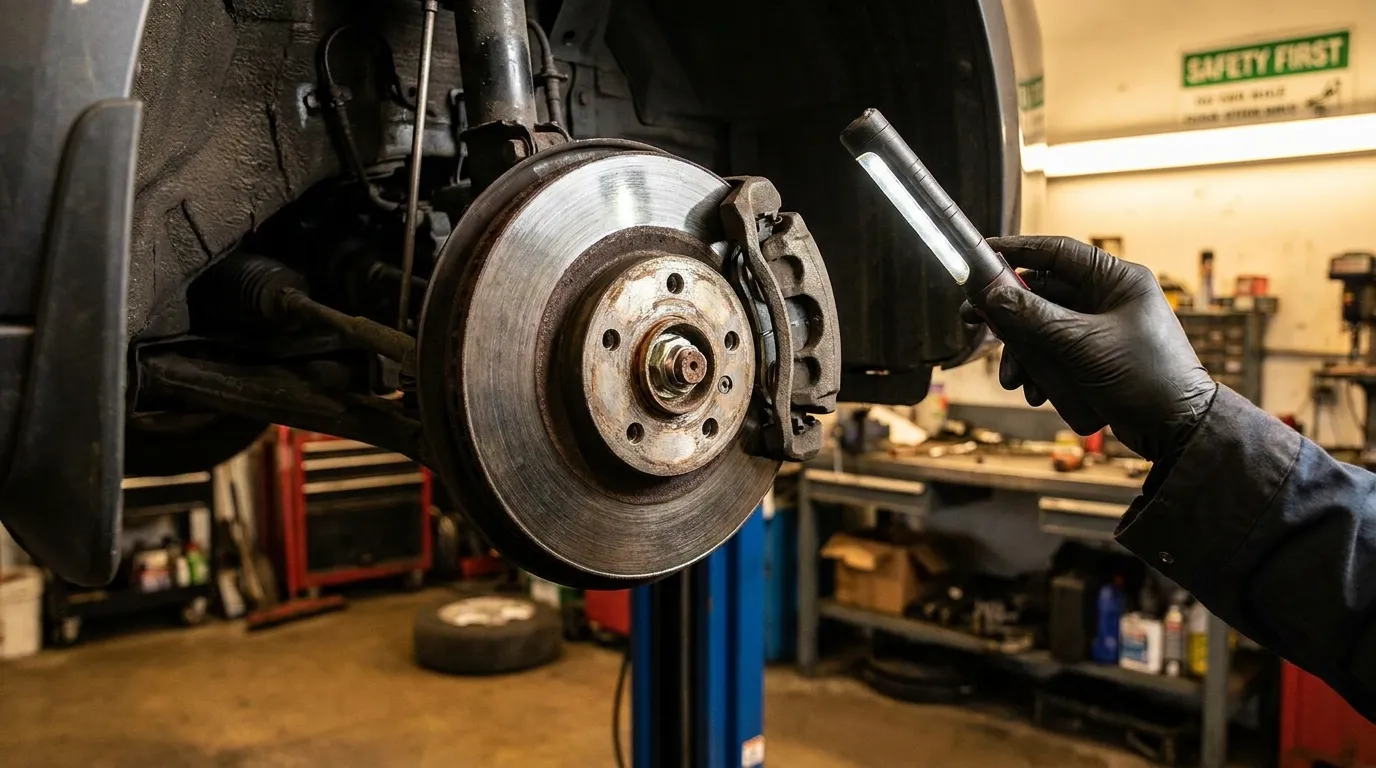
- Visually inspect the pad through the caliper opening. Look for pad backing, friction material, and wear indicator.
- Measure pad thickness at the thinnest visible point with a ruler or caliper tool. Note the reading.
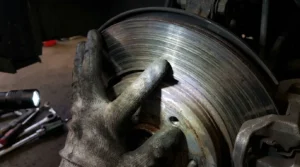
- Check the rotor surface for grooves, scoring, or blue discoloration from heat.
- Look for uneven wear between inner and outer pads, which indicates caliper or guide pin problems.
- Press the brake pedal slowly and watch caliper movement. Ensure pistons move smoothly.
- If needed, remove the caliper to inspect the full pad backing and hardware. Replace pads if below minimum thickness or damaged.
Practicing these steps will make how to inspect brake pads consistent and safe.
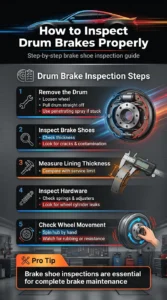
How to inspect brake pads (drum brakes)
Drum brakes need a slightly different approach:
- Remove the drum by loosening the wheel and pulling the drum straight off. Some drums have retaining screws or a lip; use penetrating spray if stuck.
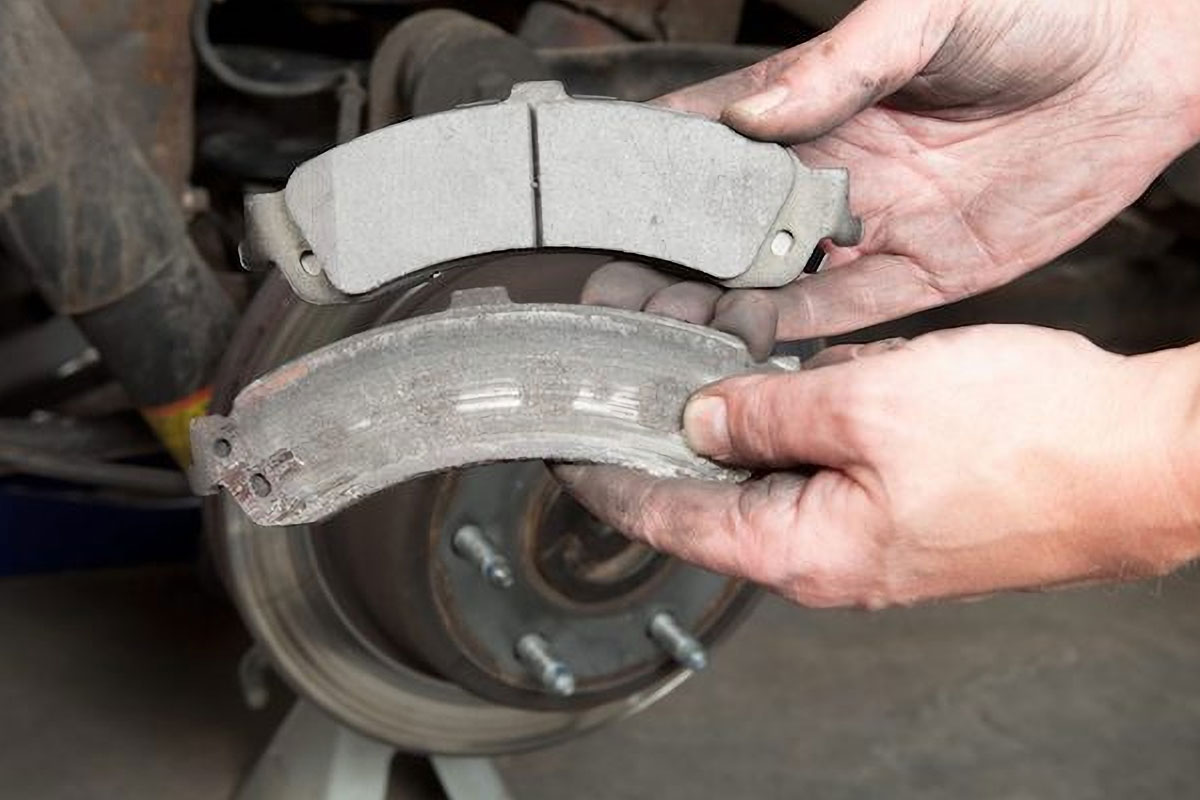
- Inspect the brake shoes and lining for thickness, cracks, and contamination from grease or brake fluid.
- Measure lining thickness at several points. Compare to the vehicle’s service limit.
- Check springs, adjusters, and wheel cylinder for leaks or corrosion.
- Turn the wheel hub and feel for rubbing or unusual resistance that indicates misadjustment or a seized wheel cylinder.
Knowing how to inspect brake pads includes drum brake checks for full coverage.
What to look for: signs of wear and damage
Key signs to spot during inspection:
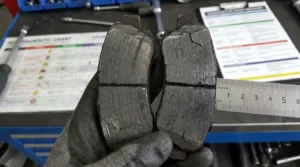
- Thin friction material: less than 3–4 mm is a common replacement threshold.
- Deep grooves or scoring on the rotor or drum surface.
- Cracks, chunks missing, or glazing on pad surfaces.
- Uneven wear between inner and outer pads.
- Contamination by oil, grease, or brake fluid that reduces friction.
- Rusted or seized hardware that prevents proper pad retraction.
Spotting these issues helps you decide when to service or replace components.
How to measure pad thickness and when to replace
Measuring is simple and critical:
- Use a brake pad gauge or digital caliper for the most accurate reading.
- Measure the thinnest part of the pad lining. Record the measurement.
- Many experts recommend replacing pads at 3–4 mm of lining left. Some pads have built-in wear indicators that will squeal.
- If the pad backing plate is close to the rotor or any metal-to-metal contact is possible, replace immediately.
Accurate measurement is the cornerstone of how to inspect brake pads and decide on replacement.
Common mistakes and safety tips
Avoid these errors when inspecting brakes:
- Rushing the job without proper support. Never work under a car on only a jack.
- Ignoring inner pad wear—outer pads often hide inner pad condition.
- Not checking caliper guide pins and hardware for smooth movement.
- Reusing contaminated pads or cracked rotors.
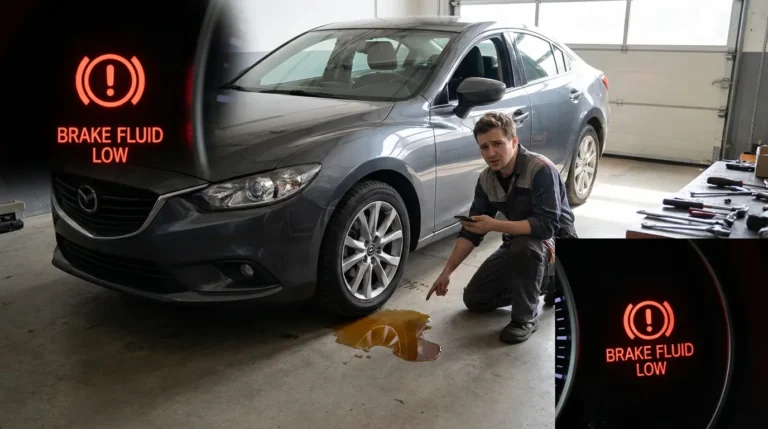
- Overlooking fluid leaks from the caliper or wheel cylinder.
Always wear gloves and eye protection. Take photos of odd findings to compare at future inspections.
Source: wagnerbrake.com
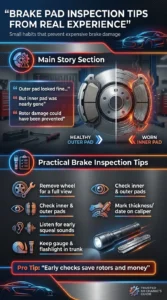
Personal experience and practical tips
I once missed inner pad wear on an old Subaru because I relied only on the outer visible pad view. The inner shoe was nearly gone and the rotor was damaged. Since then I always remove the wheel and get a clear view or remove the caliper when in doubt. Small tips I use:
- Mark the date and measured thickness on the caliper with a grease pencil.
- Listen for the first telltale squeal; it often saves a rotor.
- Keep a simple gauge and flashlight in the trunk for quick checks.
These habits make how to inspect brake pads faster and more reliable.
People also ask
How long does a pad inspection take?
- A basic visual inspection with the wheel on takes 5–10 minutes. Removing the wheel and measuring thoroughly can take 20–40 minutes.
Can I inspect pads without removing the wheel?
- You can get a quick look through the caliper opening, but full inspection and accurate thickness measurement usually require wheel removal.
Will new pads fix a noisy brake immediately?
- New pads help, but you should also check the rotor for scoring or glazing. Proper bedding and hardware replacement may be needed.
Frequently Asked Questions of how to inspect brake pads
How often should I inspect my brake pads?
Inspect pads every 6,000 to 12,000 miles depending on driving style and conditions. Check sooner if you hear noise or feel vibration when braking.
What is the minimum safe pad thickness?
Most experts recommend replacing pads at 3–4 mm of lining left. If pads are below that, replace them promptly to avoid rotor damage.
Can I measure pad thickness without special tools?
You can use a ruler or a tape measure for a rough reading, but a caliper or brake pad gauge gives a more accurate result. Accuracy matters for replacement decisions.
Are brake wear indicators reliable?
Wear indicators are helpful as a backup warning. They may not trigger early enough for all pads, so visual checks and measurements are still important.
When should I replace rotors too?
Replace or resurface rotors if they have deep grooves, warping that causes pedal pulsation, or if they are below the manufacturer’s thickness limit. Replacing pads with worn rotors can shorten new pad life.
Conclusion
Regular inspections and simple measurements make a big difference in brake safety and cost. Use the steps above to learn how to inspect brake pads, measure thickness, and spot damage early. Start by checking your brakes this month, keep a small gauge in your garage, and document readings over time to track wear. If you found this guide useful, leave a comment, subscribe for more maintenance tips, or share your brake inspection stories below.