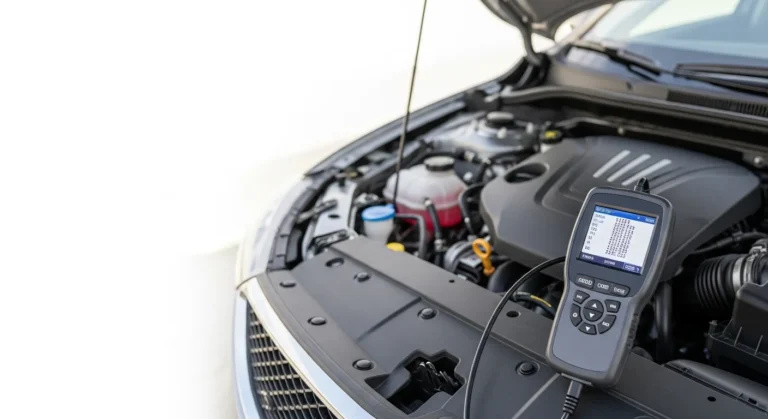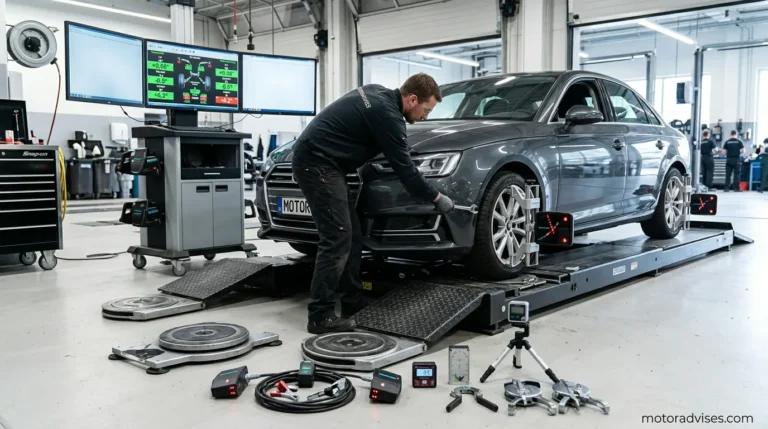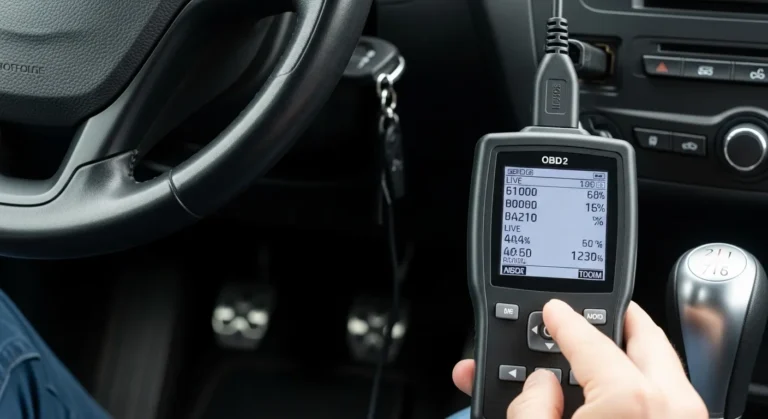
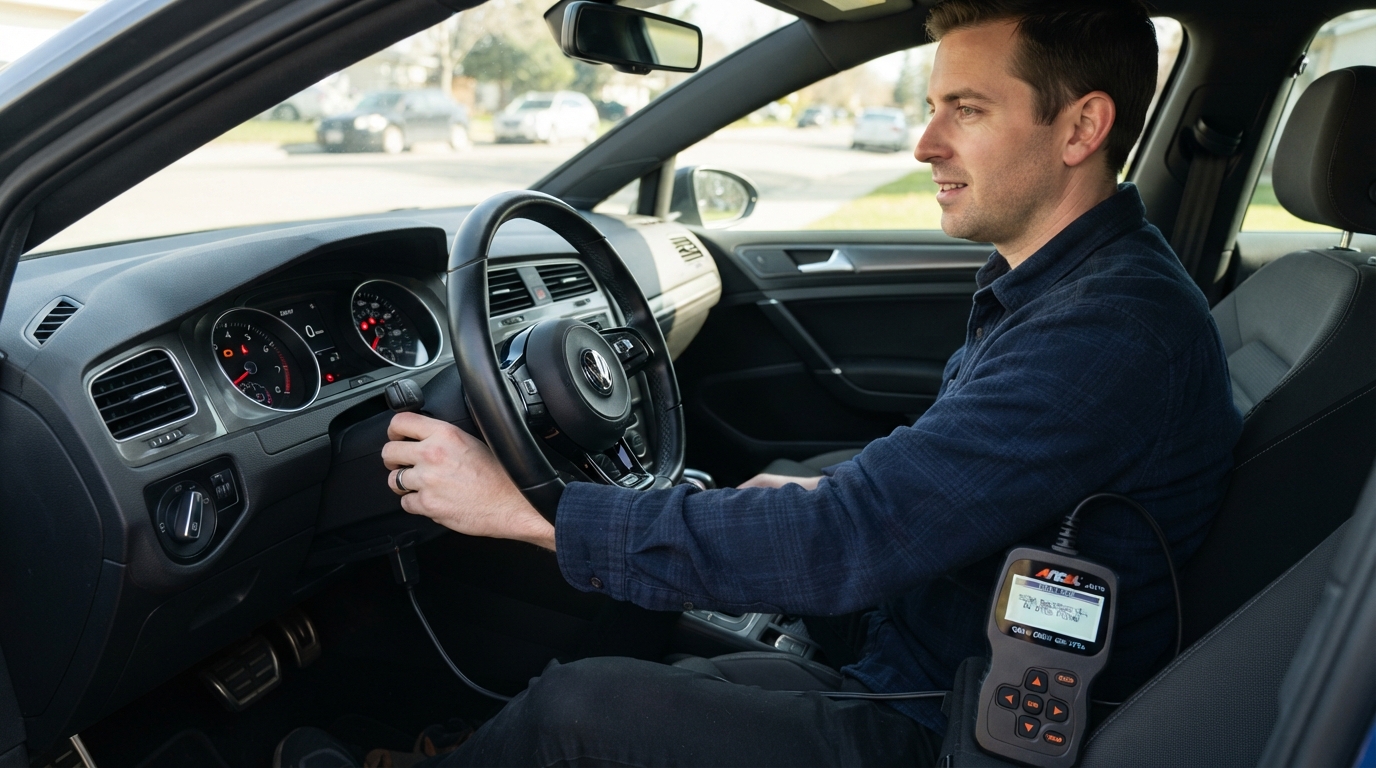
Plug the OBD-II connector, run the scanner app or device, read codes, and follow repair steps.
I have spent years working on cars and using many diagnostic tools. This guide shows exactly how to use car diagnostic scanner from picking one to fixing common faults. I will explain simple steps, common codes, live data use, and real tips I learned in the shop. Read on to get confident using a scanner and save time and money.
Why use a car diagnostic scanner
A scanner tells you why the check engine light is on. It reads error codes and shows live data from sensors. This saves guesswork and reduces repair cost. You can also clear codes after repair and confirm fixes quickly.
Using a scanner helps you learn the car. It gives clues that a basic test can’t. For hobbyists and pros, it shortens troubleshooting time and improves results.
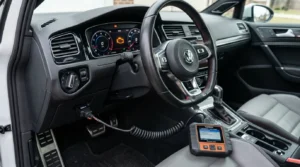
Types of car diagnostic scanners
There are three main types. Each fits different needs.
- Basic code readers
- Read and clear standard OBD-II codes.
- Cheap and simple.
- Advanced handheld scanners
- Show live data and freeze frame.
- Support many systems and have graphing.
- Bluetooth/Wi-Fi adapters with apps
- Plug into OBD-II port and pair with phone.
- Apps offer cloud lookup and easy updates.
I used a midrange handheld tool for years. It handled most jobs and had good live-data graphs. For home use, a Bluetooth adapter with a reliable app is a great low-cost choice.
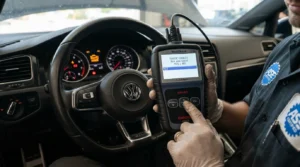
How to choose the right scanner
Match the tool to your car and needs. Ask these questions first.
- What systems must it read?
- Engine only or ABS, airbag, transmission too?
- Is compatibility with your car year and make required?
- Some scanners support brand-specific protocols.
- Do you need live data and graphing?
- Useful for sensors and intermittent faults.
- What is your budget?
- Spend more if you need deep features.
Look for updates, warranty, and good app reviews. Read the manual before buying to confirm vehicle coverage.
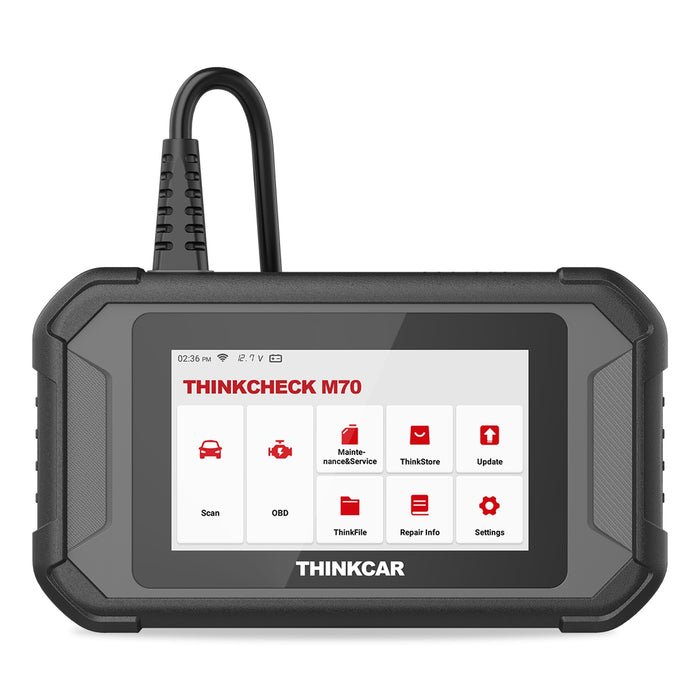
Source: thinkcarus.com
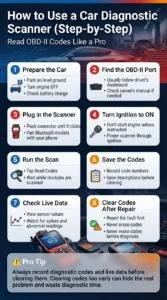
Step-by-step: how to use car diagnostic scanner
Follow these steps for a clear, safe scan.
- Prepare the car
- Park on level ground. Turn off the engine.
- Make sure the battery has enough charge.
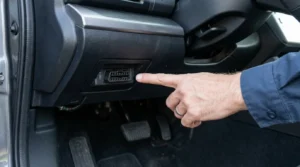
- Locate the OBD-II port
- Usually under the dash on the driver side.
- If hard to find, check the owner’s manual.
- Plug in the scanner
- Insert the connector until it clicks.
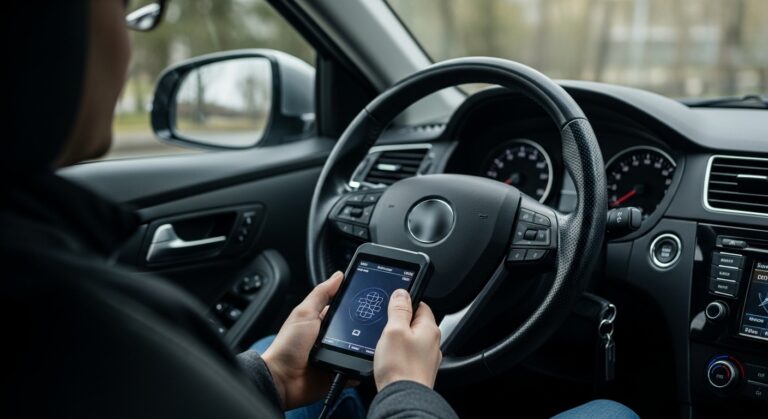
- For Bluetooth devices, plug in then pair with your phone.
- Turn the ignition to ON
- Do not start the engine unless the tool asks for it.
- Power the scanner from ignition to access modules.
- Run the scan
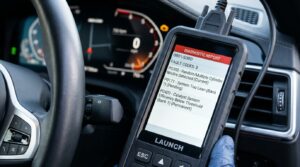
- Select “Read Codes” or “Scan”.
- Wait while the scanner queries modules.
- Save or note the codes
- Record code numbers and short descriptions.
- Use the tool or app to look up definitions.
- Read live data if needed
- Check sensor readings at idle and under load.
- Use graphs to see patterns and spikes.
- Clear codes after repair
- Only clear codes after the issue is fixed.
- Clearing without repair hides problems from diagnostics.
I once misread a code and cleared it before testing. The warning came back, and I wasted time chasing a fresh symptom. Always record codes and data before clearing.
Understanding trouble codes and live data
There are two main code types. Know what they mean.
- Generic codes (P0xxx)
- Standard across most cars.
- Example: P0301 means misfire cylinder 1.
- Manufacturer codes (P1xxx)
- Brand-specific and need deeper lookup.
Live data shows sensor values in real time. Use it to confirm if a sensor is telling the truth. For example, a mass air flow sensor reading too high at idle often points to wiring or the sensor itself.
Common checks to run with live data:
- Compare intake air temp and coolant temp.
- Watch fuel trims for signs of vacuum leak or rich/lean mix.
- Monitor oxygen sensor response for catalytic converter health.
Common fixes and practical tips
Many fixes follow the codes and data. Here are tried-and-true steps.
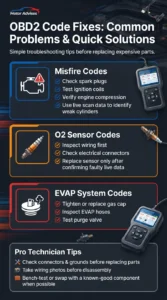
- For misfires
- Check spark plugs, coils, and compression.
- Use live data to spot weak cylinders.
- For oxygen sensor codes
- Inspect wiring and connectors first.
- Replace sensors only if data and age point to failure.
- For EVAP codes
- Check gas cap tightness.
- Inspect hoses and purge valve.
Tips from the shop:
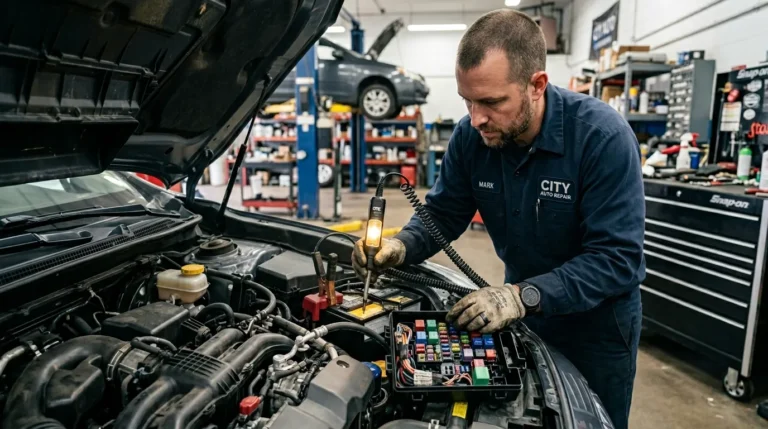
- Always check connectors and grounds before replacing parts.
- Use photos to document wiring before disassembly.
- When in doubt, test components with a spare part or bench test.
Safety, limitations, and best practices
A scanner is powerful but not flawless. Know what it can and cannot do.
- It reads codes and data. It does not replace hands-on testing.
- False or pending codes can mislead. Confirm with tests.
- Some modules require dealer-level tools for coding or deep resets.
Best practices:
- Keep the scanner firmware updated.
- Use the car’s manual and factory service information when needed.
- Log your scans for future reference.
PAA-style questions
How does a car diagnostic scanner work?
A scanner connects to the car OBD-II port and queries modules. It reads stored and live data and returns standardized codes that indicate faults.
Can I read codes with my phone and a cheap adapter?
Yes. A good phone app with a reliable adapter can read codes and live data. Avoid very cheap adapters that drop connection or misreport values.
Should I clear a code after replacing a part?
Clear codes only after confirming the fix. Record the code first and verify the system. Clearing prematurely can hide recurring issues.
What if a code points to a part but the part looks fine?
Use live data and simple tests to confirm failure. Check wiring, connectors, and grounds before replacing parts.
Do scanners work on all cars?
Most scanners work on OBD-II cars (1996+ in the US). Older cars or brand-specific systems may need special tools or adapters.
Frequently Asked Questions of how to use car diagnostic scanner
What is the first step when using a car diagnostic scanner?
Locate and plug into the OBD-II port, then turn the ignition to ON without starting the engine. This powers the scanner and lets it communicate with modules.
How long does a scan take?
A full scan takes a few seconds to a few minutes depending on the tool and vehicle. Live data checks and module queries take extra time.
Can I fix problems using only the code?
A code points you in the right direction but does not always identify the exact cause. Use tests and live data to confirm before replacing parts.
Will clearing codes turn off the check engine light permanently?
Clearing may turn off the light temporarily. If the problem is not fixed, the light will return after the car detects the issue again.
Is it safe to drive after getting a code?
It depends on the code. Some codes indicate minor issues; others signal unsafe conditions. Check the code severity and consult repair guidance.
Conclusion
You can quickly learn how to use car diagnostic scanner and make smarter repair choices. Start with the right tool, follow the step-by-step scanning process, and use live data to confirm faults. Learn from mistakes, keep records, and update your scanner. Try a scan on your car today, apply one simple fix, and watch how much time and money you save. If this guide helped, leave a comment or subscribe for more hands-on car tips.