Use a puncture plug kit: ream the hole, insert the plug, trim, and inflate to spec.
I have worked on cars and bikes for many years. I will walk you through how to use tire repair kit with clear steps, tips, and safety notes. This guide covers types of kits, tools you need, step-by-step instructions, when to avoid a DIY fix, and real tips from my experience. Read on to learn how to use tire repair kit safely and confidently.
Why carry and know how to use tire repair kit
Tires fail at the worst times. A small puncture can stop your trip. Knowing how to use tire repair kit saves time and money. It also keeps you safer on the road.
Common benefits:
- Quick fix that gets you to a shop.
- Works for many tread punctures from nails and screws.
- Lightweight and easy to store in a trunk or bike pack.
I once used a kit on a rainy night. It got me home without a tow. That experience taught me to keep a kit and learn how to use tire repair kit well.
Types of tire repair kit and when to use each
There are a few main kits. Choose the right kit for your tire type and damage.
Common types:
- Puncture plug kits for tubeless tires. Ideal for small tread holes.
- Tire sealant cans for quick inflation and seal. Good for emergencies.
- Patch and plug combos for internal and external repairs. Best for longer fixes.
- Tube patch kits for inner tubes on bikes and some trailers.
For cars, a plug or patch is best for small tread punctures. For sidewall damage, do not repair; replace the tire. Knowing kit differences helps you pick the right fix. This is central to how to use tire repair kit correctly.
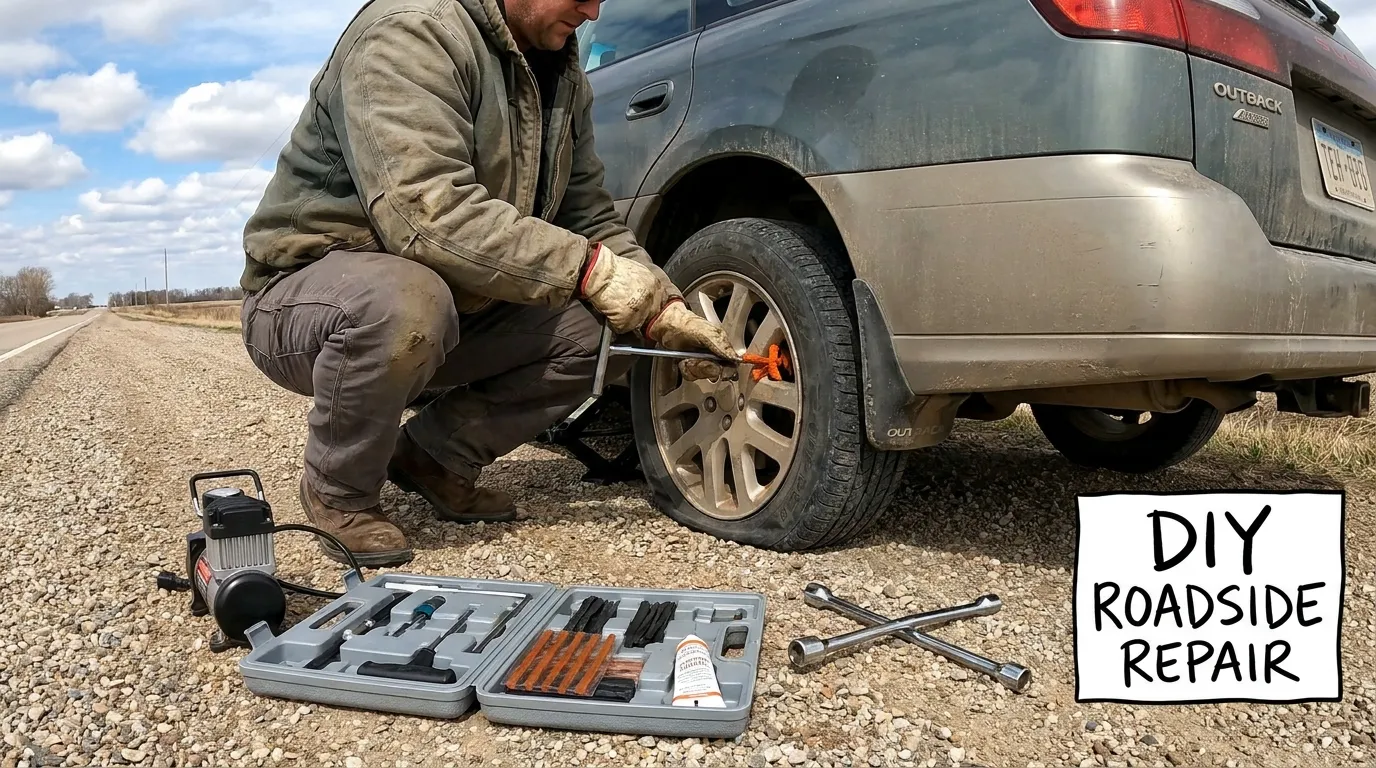
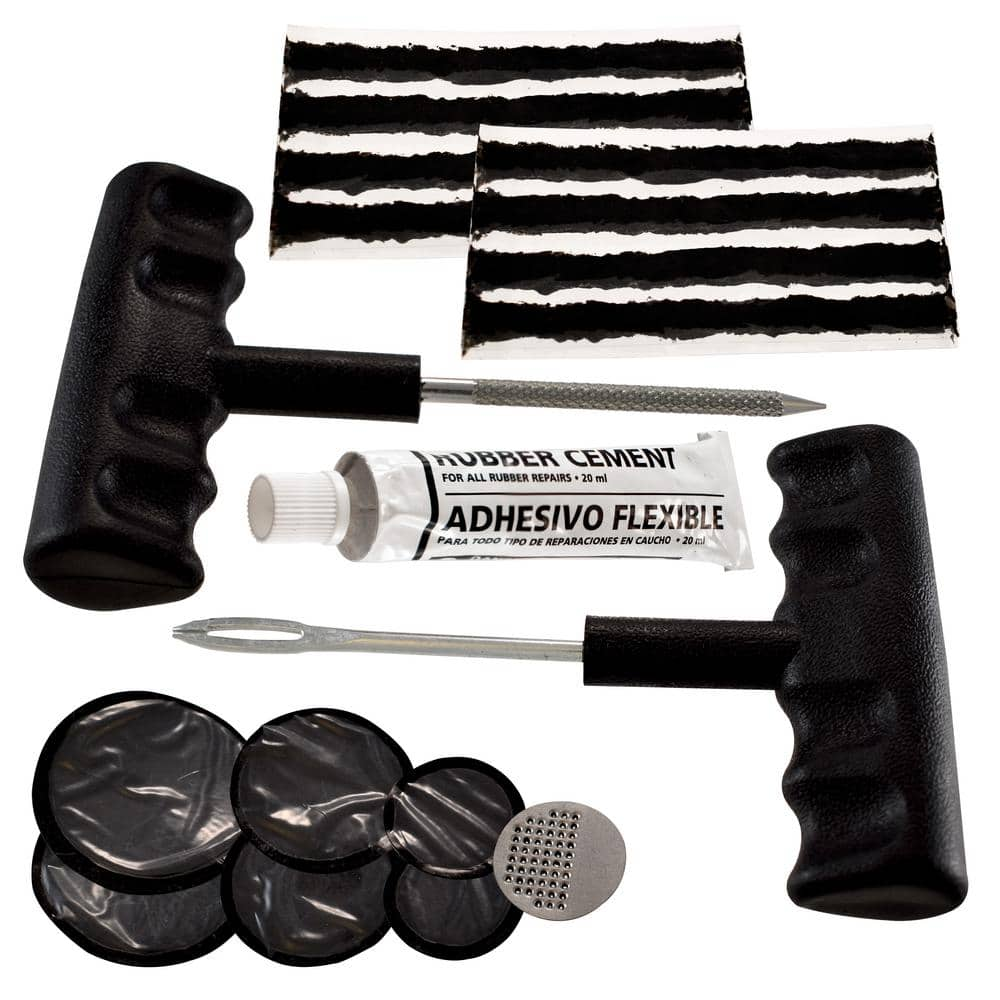
Tools and materials you will need
Prepare before you start. Lay out items to avoid mistakes.
Essential items:
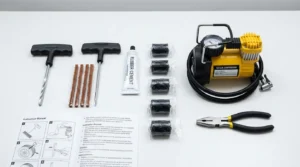
- Tire repair kit with plugs and reamer tool.
- T-handle insertion tool or plug tool.
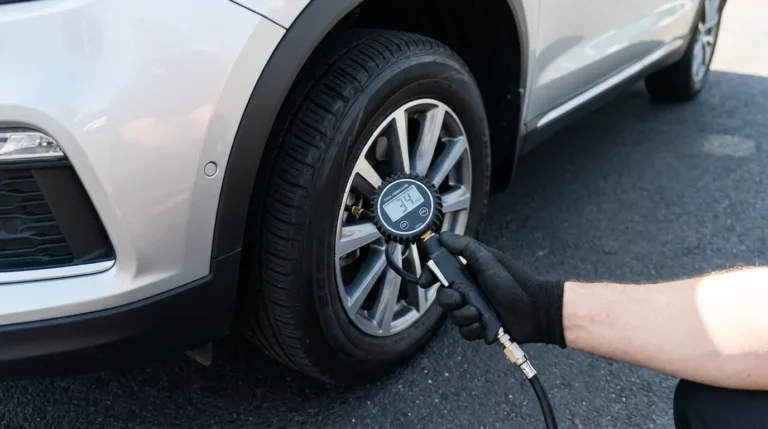
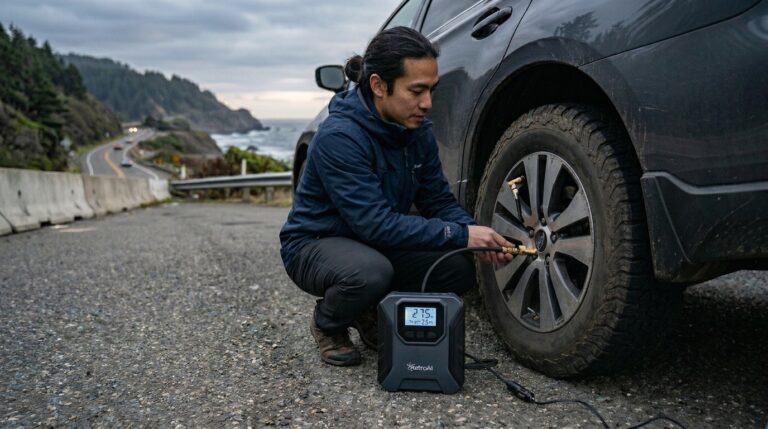
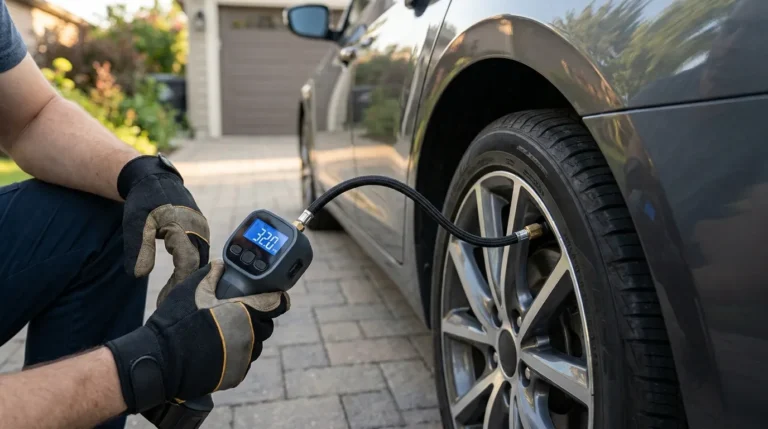
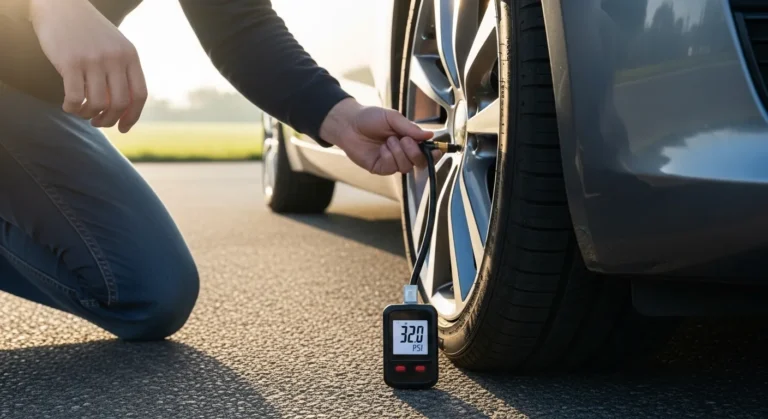
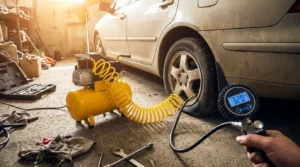
- Tire pressure gauge and portable air pump or compressor.
- Soapy water in a spray bottle to check leaks.
- Gloves and safety glasses.
Optional helpful items:
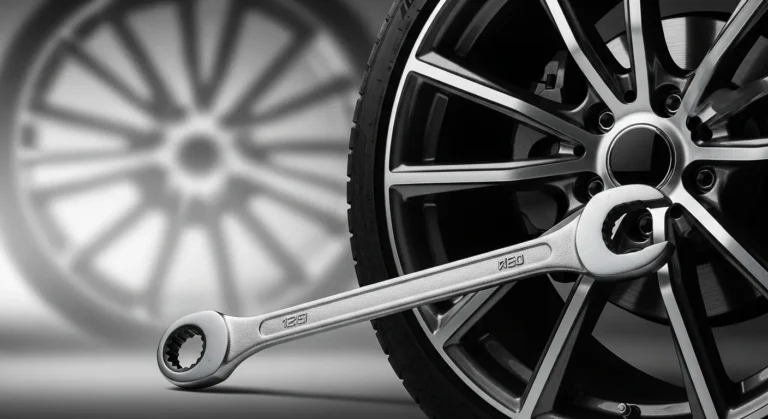
- Jack and lug wrench for wheel removal.
- Tire repair tape for temporary seal.
- Torque wrench to tighten lug nuts properly.
I always keep a compact kit plus a mini pump. It fits under the seat or in the trunk and helped me twice on long trips.
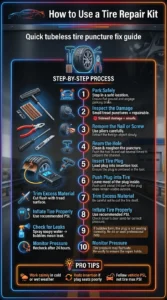
Step-by-step guide: how to use tire repair kit (tubeless tires)
Follow these clear steps. Read all steps first. Then act.
- Ensure safety and stop in a safe place.
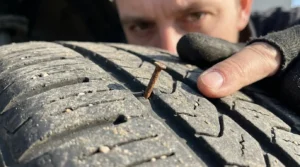
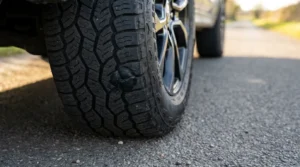
- Inspect the puncture. Small nail or screw in the tread is repairable. Sidewall or large gashes are not.
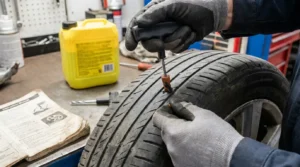
- Remove the object with pliers. Keep the object for size reference.
- Ream the hole with the included reamer. Do this in and out several times to roughen and clean the hole.
- Thread a plug into the insertion tool so a bit remains free at the end.
- Push the plug into the hole until most of it is inside. Then pull the tool out. The plug will stay.
- Trim excess plug material flush with the tire surface.
- Inflate the tire to the recommended pressure.
- Spray soapy water on the repair area. Look for bubbles to check for leaks.
- Monitor the tire pressure for 24 hours and then recheck frequently for a repair that holds.
Tips from my work:
- Work fast but calm in cold or wet weather.
- If the plug seats poorly, remove and repeat reaming and insertion.
- Always pump to the vehicle maker’s pressure, not tire max pressure.
This step list shows exactly how to use tire repair kit for many common punctures. Practice at home if you are new. It builds confidence.
Small Q&A (PAA-style) inside the guide
Q: Can I drive after using a plug repair?
A: Yes for short trips to a shop. Drive slowly and avoid long highway trips until inspected.
Q: How long does a plug repair last?
A: Many last months or years if applied correctly. Still, schedule a professional check soon.
When not to use a tire repair kit
Some damage needs a new tire. Know the limits.
Do not repair:
- Sidewall cuts or bulges.
- Punctures larger than 1/4 inch in diameter.
- Multiple nearby punctures in the same area.
- Damage that reaches the tire cords or bead.
If unsure, get professional help. I once repaired a tread puncture that failed later. It taught me to be strict about limits. Safety first when you learn how to use tire repair kit.
Source: homedepot.com
Maintenance, safety tips, and common mistakes
Keep your kit ready and learn good habits.
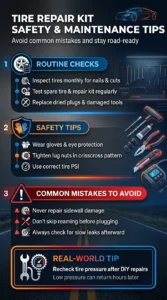
Routine checks:
- Inspect tires monthly for nails and cuts.
- Test your spare and repair kit every few months.
- Replace dried-out plugs or torn tools.
Safety tips:
- Always use gloves and eye protection.
- Tighten lug nuts in a crisscross pattern if wheel removal is needed.
- Don’t overinflate. Use the vehicle’s recommended PSI.
Common mistakes to avoid:
- Trying to repair sidewall damage.
- Skipping reaming; a plug needs a clean hole to seal.
- Not checking for slow leaks after repair.
I once neglected to recheck pressure and lost air on a trip. Since then I check pressure twice a day after any DIY fix.
Frequently Asked Questions of how to use tire repair kit
How long does a plug repair last?
A properly done plug can last months to years. Still, have a professional inspect the tire soon.
Can I repair sidewall damage with a kit?
No. Sidewalls flex and cannot hold a safe, long-term repair. Replace the tire.
Is a tire sealant can enough for a repair?
Sealant cans work for small punctures and quick fixes. They are temporary and not always a permanent solution.
Do I need to remove the wheel to repair?
Not always. Small tread punctures can be repaired with the wheel on. Removing the wheel often gives a cleaner repair.
Is it safe to drive after using a repair kit?
Short drives at moderate speed are usually safe to reach a shop. Avoid long trips until a professional evaluates the repair.
Can motorcycle tires be repaired the same way?
Many motorcycle tubeless tires accept plugs, but follow the bike maker’s guidance. Some require patching from the inside.
How often should I check the repaired tire pressure?
Check twice in the first 24 hours, then daily for a few days. Regular checks confirm the repair holds.
Conclusion
You now know how to use tire repair kit step by step. Keep a good kit, learn safe limits, and practice the procedure at home. A proper repair can save time and get you to a shop safely. Take action: check your kit, try a practice run, and comment below with your own repair stories or questions.